How To Transfer Photos From iPhone to Mac
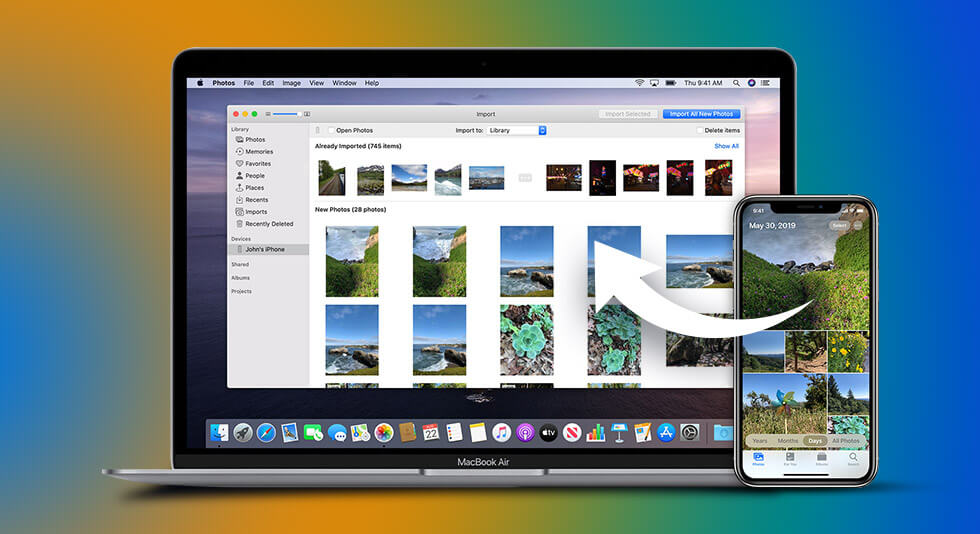
Transferring photos from iPhone to Mac can help you save a lot of storage space. It is a wise move to transfer your photos from iPhone to Mac. Also, it is much easier to edit photos on a larger Mac screen than on iPhone. Surprisingly and interestingly, there are ways more than one to transfer photos from an iPhone to a Mac.
Ways to Import Photos From iPhone to Mac:
1. Via USB Cable
If you have the USB cable you charge your iPhone with, you can quickly transfer photos from your iPhone to your Mac –
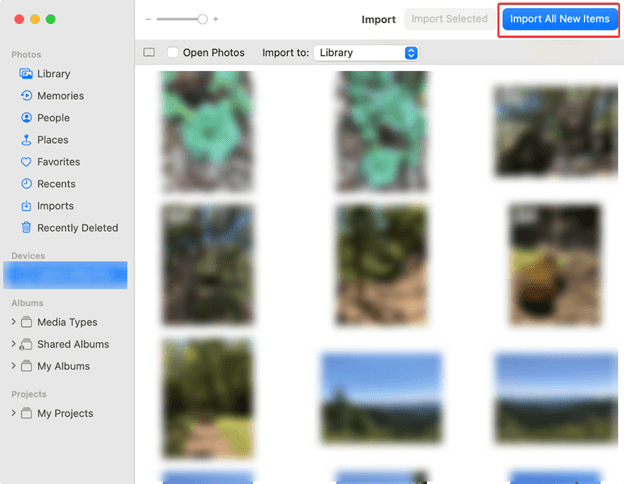
1. Connect your iPhone to your Mac with the help of a USB cable.
2. Open the Photos app on Mac.
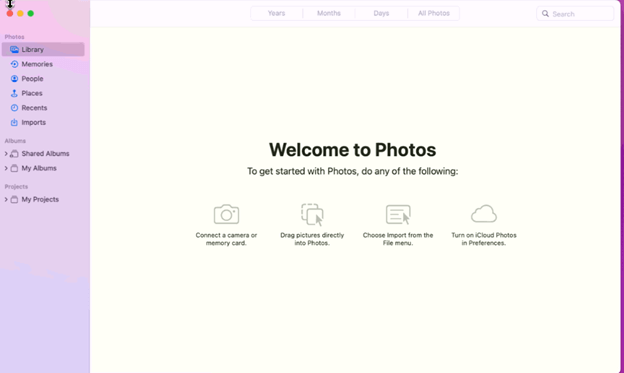
3. You will see a blue-colored Import All New Items button at the top right corner of the screen. You may have to select your iPhone device from the sidebar on the left under Devices, as shown in the screenshot below.
4. Unlock your iPhone using your passcode if you are asked to.
5. Select where you want to import your photos.
6. Select all the photos that you want to import.
2. Transfer Photos from iPhone to Mac Using AnyTrans
You might be wondering when I can transfer photos from iPhone to Mac using various other means; why would I need a utility like AnyTrans? That’s because iMobie’s AnyTrans is an all-in-one manager for your Apple devices. You don’t just get to transfer data but even manage and back up data.
1. Download, run, and install AnyTrans on your Mac.

2. Connect your iPhone to your Mac with the help of a USB cable.
3. Click on the Photos icon from the right.
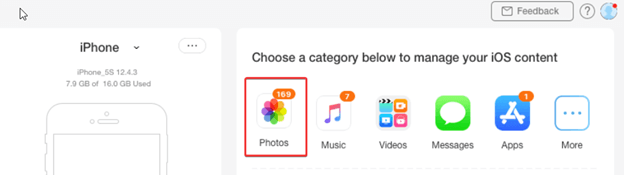
4. You can either transfer all your photos or select photos from selected albums.
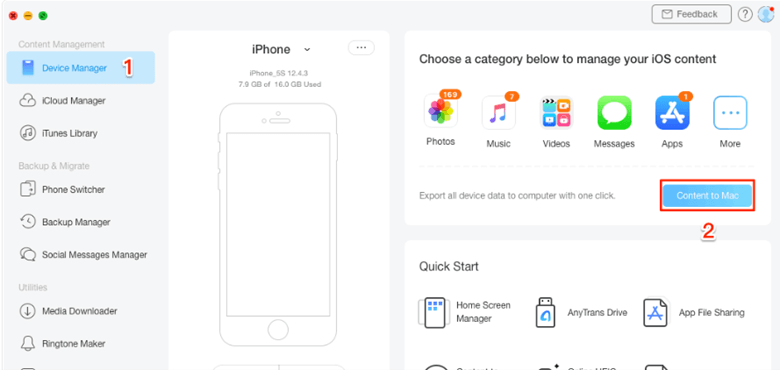
5. Click on the To Mac option at the top to transfer photos from your iPhone to your Mac.
6. Tweak the Preferences under the Export Photos tab.
7. Click on View Files to check your photos.
8. Also, you can click on Content to Mac to transfer photos in one click. Once you do that, select your deserted categories and click on Next.
3. Use AirDrop
With AirDrop; you can wirelessly send photos, documents, videos, map locations, and more to an Apple device including iPhone, mac, and iPad. Here is how you can share content with AirDrop.
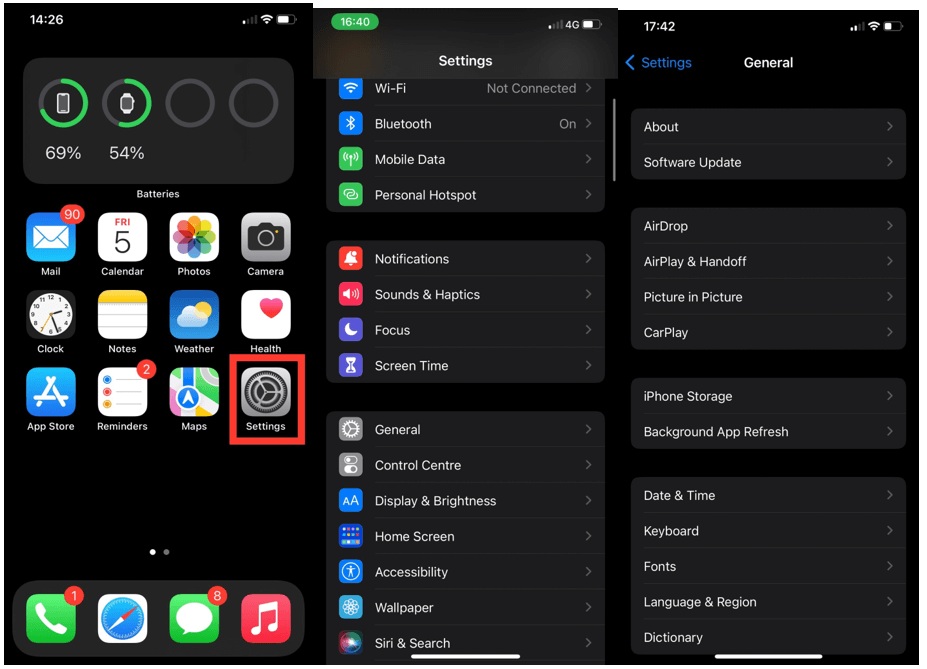
1. First, indicate via settings which can locate your iPhone via AirDrop. For this, on your iPhone go to Settings > General > AirDrop > Everyone (or Contacts Only)
2. Now, we’ll enable AirDrop on the Mac as well. For that –
- Click on the magnifying glass icon and in the Spotlight search, type AirDrop.

- Locate your intended iPhone from which you want to import photos on your Mac.
3. Again head to the Spotlight search on your Mac and type Bluetooth and turn your Mac’s Bluetooth on if it is not already. Similarly, turn on your Wi-Fi as well. Check the same on your iPhone, i.e. the Wi-Fi and Bluetooth should be turned on on your iPhone.

4. Next open Photos on your iPhone.
5. Tap on the share button from the bottom left-hand corner. A square button signifies the share button with an up arrow key.
6. Select the AirDrop option from the bottom-left corner of the screen.
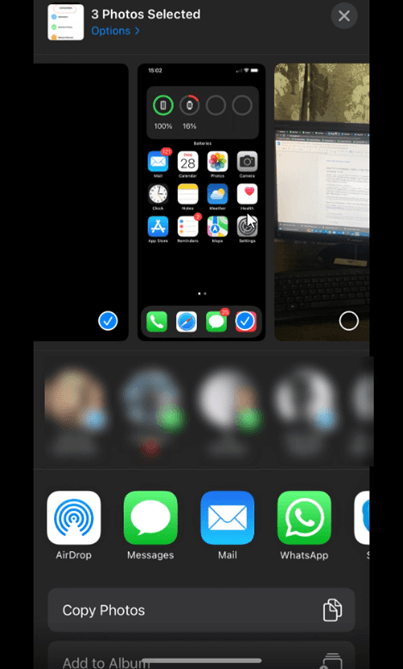
7. Select your Mac device and confirm that you want to accept files.
4. Transfer Photos from iPhone to Mac Using Finder
You can move photos from iPhone to Mac using Finder provided you java macOS Catalina 10.15 or later. For this method, you will also need a USB cable –
1. Plug in your iPhone to your Mac using a USB cable.
2. Open Finder on your Mac.
3. From the sidebar, locate Devices and under that, locate your iPhone.
4. From the top, click on Photos.
5. Click on the Sync radio button that says All photos and albums. Here you can even choose individual photo albums that you want to transfer.
6. Click on Apply.
5. Use iCloud To Sync Photos Between Your iPhone and Mac.
First, we’ll set up iCloud Photo Library on iPhone –
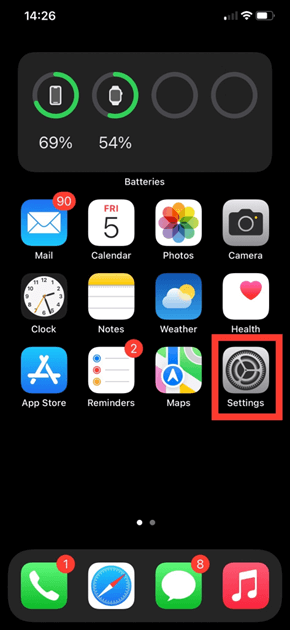
1. Click on Settings
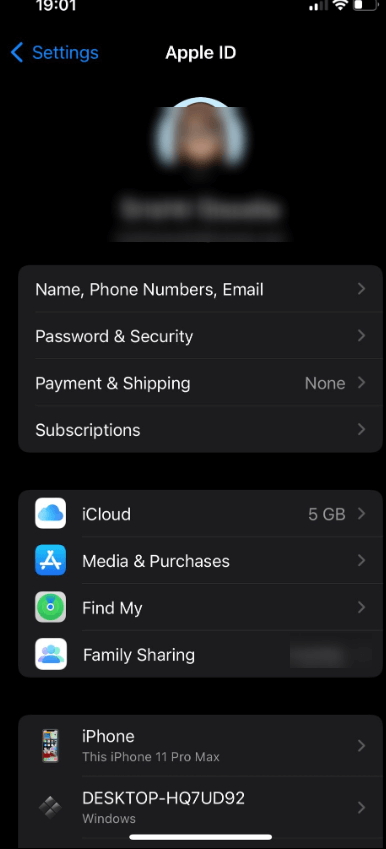
2. Tap on your name that you can see on the top.
3. Go to iCloud.
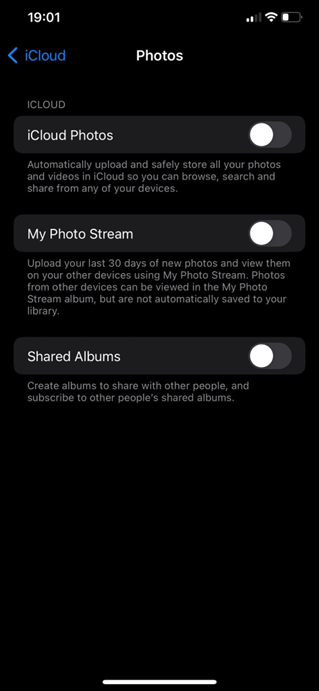
4. From the list of apps being used by iCloud, select Photos.
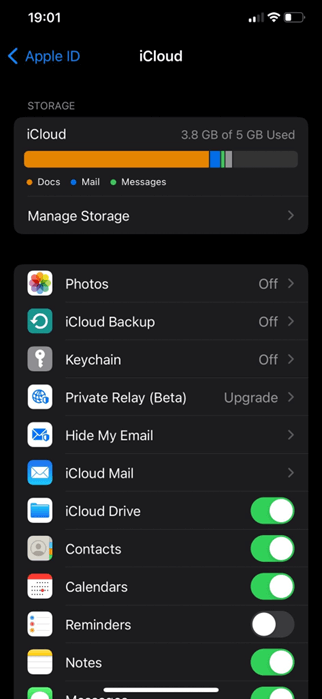
5. Toggle the iCloud Photos switch to the right.
On your Mac –
1. Open the Photos app.
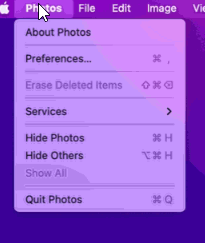
2. Click on the Photos menu bar and select Preferences.
3. Click on iCloud and sign in with your Apple ID.
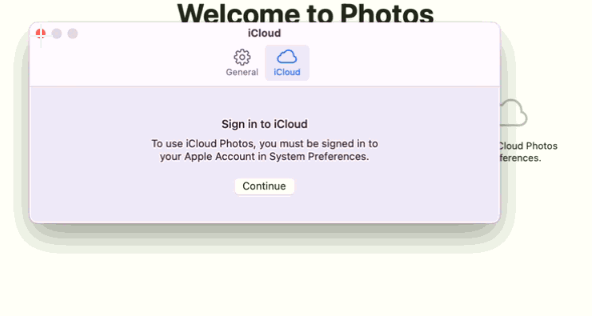
Provided both your iPhone and Mac have the same Apple ID, your photos will be synced automatically between your iPhone and Mac.
Wrapping Up
Transferring photos from iPhone to Mac isn’t that hard a task, isn’t it? Which of the above methods would you prefer to move photos from your iPhone to your Mac? If you are headed towards third-party tool, we suggest using iMobie’s AnyTrans since it makes not just transferring but various other tasks easily manageable. That said, for more such content, keep reading BestMacCleaner.
 How To Fix “Photoshop Scratch Disk Full Mac” On Mac
 Duplicate Photo Fixer Pro – Best App To Find and Delete Duplicate Photos
 10 Best Duplicate Photo Finder For Mac 2024
 10 Best Photo Recovery Software For MacOS In 2024