How to Fix “macOS could not be installed on your computer” Error
Apple’s macOS is renowned for its stability, intuitive interface, and flawless performance. However, even with its impressive track record, it is not exempted from occasional challenges, right? One such obstacle that users often encounter is the frustrating “macOS Could Not Be Installed on Your Computer” error message.
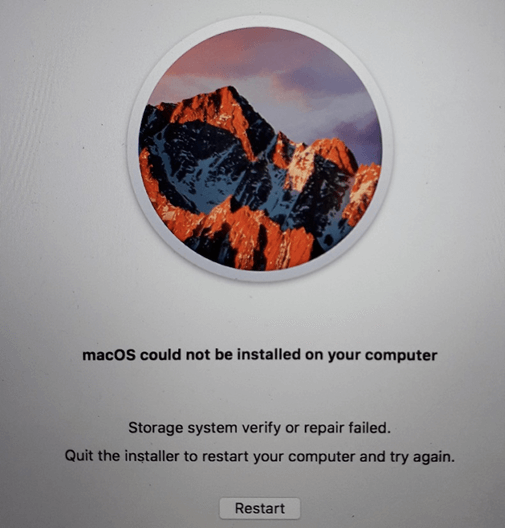
This error typically appears when attempting to install a new version of macOS, a major update or a fresh installation. Facing this confusing situation can leave you feeling unsure and not knowing what to do next. Don’t worry, we have got you covered.
In this blog, we have listed a comprehensive guide to resolving this error using simple and effective troubleshooting methods.
What Triggers the “macOS could not be installed on your computer” Error?
The error can be triggered by various factors. Here are some common culprits behind this frustrating error:
- Incompatible Hardware: Certain macOS versions have specific hardware requirements. If your computer doesn’t meet these requirements, you may encounter this error when attempting to install macOS.
- Insufficient Disk Space: macOS updates and installations require a certain amount of free disk space to complete successfully. If your computer’s storage is nearly full, you may witness this error.
- Corrupted Installation Files: Sometimes, the installation files themselves can become corrupted during the download process or due to other factors. This can result in an error message when you try to install macOS.
- Disk Errors or File System Issues: If your computer’s hard drive has errors or issues with the file system, it can interfere with the macOS installation process. File system corruption or disk errors can prevent the installation from proceeding smoothly. Hence, triggering the error.
- Security Software Interference: Certain security software or settings on your Antivirus programs, firewalls, or other security measures may incorrectly identify the installation files as harmful. This may prevent the installation, causing the error.
- Network Issues: A stable and reliable Internet connection is necessary to download the installation files without errors.
In the following sections, we’ll explore step-by-step troubleshooting methods to address these triggers and help you resolve the error effectively.
How to Fix the MacOS Could Not Be Installed Error
Here are some tried and tested troubleshooting steps to fix the annoying error.
Solution 1: Boot Mac in Safe Mode
Safe Mode allows your computer to start up with minimal system extensions and only essential software. This helps to identify and resolve software-related issues that may be causing the installation error. Here’s how you can boot your Mac in Safe Mode:
1. Shut down your Mac completely.
2. Press the power button to turn on your Mac.
3. Immediately press and hold the Shift key on your keyboard.
4. Keep holding the Shift key until you see the Apple logo and a progress bar appear on the screen. This indicates that your Mac is booting in Safe Mode.
5. Once your Mac has successfully booted into Safe Mode, log in to your user account.
6. In Safe Mode, try installing macOS again and see if the error persists.
Booting in Safe Mode disables certain non-essential system extensions and startup items that could be causing conflicts with the macOS installation. If the error doesn’t occur while in Safe Mode, it indicates that a third-party extension or software might be causing the issue.
Also read: How To Fix “Your System Has Run Out Of Application Memory” Mac Error
Solution 2: Configure Date and Time Settings
Incorrect date and time settings on your Mac can sometimes lead to the “macOS could not be installed on your computer” error. Wondering why? Well, this is because the macOS installer verifies the validity of the installation files based on the system’s date and time. So, if they are not in sync or set correctly, it can cause installation issues.
To resolve this, follow these steps to configure the date and time settings:
1. Tap on the Apple icon and select “System Preferences” from the drop-down menu.
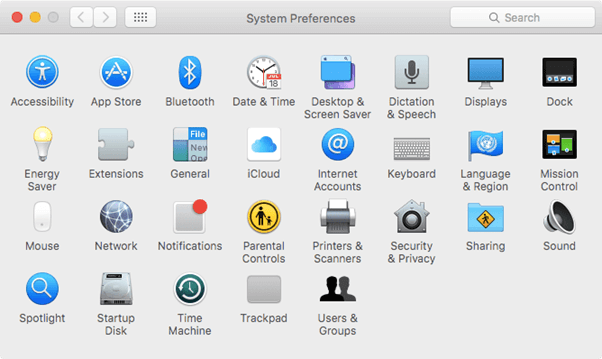
2. In the System Preferences window, click on “Date & Time.”
3. Switch to the “Date & Time” tab.
4. Check the box next to “Set date and time automatically” to enable automatic time synchronization. This will ensure that your Mac’s date and time are set accurately based on your location.
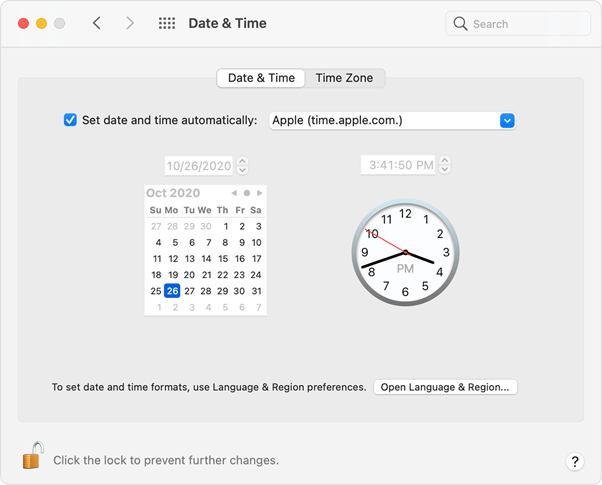
5. If the box is already checked, uncheck it and wait for a few seconds. Then, check it again to force a re-sync with the time server.
6. Close the Date & Time preferences.
7. Retry the macOS installation process and see if the error persists.
By ensuring that your Mac’s date and time settings are accurate and synchronized with the time server, you eliminate potential conflicts triggering the error.
Also read: How to Fix “Your Connection is Not Private” Error on Mac
Solution 3: Free Up Storage Space
To resolve the “macOS could not be installed on your computer” error, free up storage space on your Mac. Delete unnecessary files, offload unused applications, and transfer files to an external storage device. Ensure you have sufficient free disk space for the macOS installation. Retry the installation process after freeing up space to see if the error is resolved.
Here’s how you can free up storage space on your Mac:
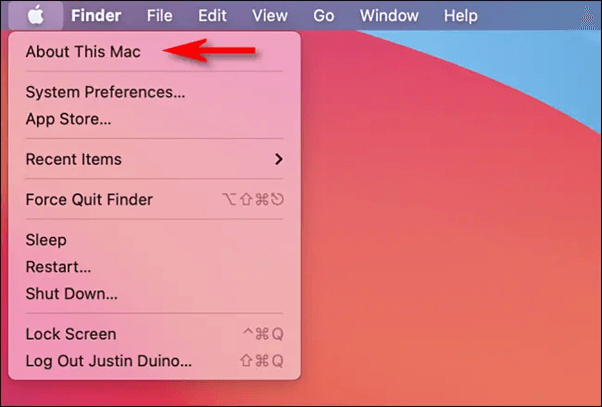
1. Open the Apple menu by clicking on the Apple logo in the top left corner of the screen and select “About This Mac” from the drop-down menu.
2. In the About This Mac window, click on the “Storage” tab.
3. You’ll see a visual representation of your disk usage, categorized by different file types (Applications, Documents, Systems, etc.). Identify the larger files or file categories that you can remove or relocate to free up space.
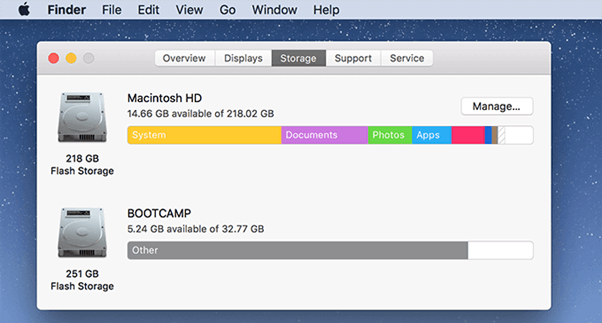
4. Click on the “Manage” button. This will open the Storage Management utility, providing more options for freeing up space.
5. In the Storage Management utility, you’ll find recommendations for optimizing storage, such as storing files in iCloud, emptying the Trash, or removing unused applications.
Also read: How to Check Storage on Mac | Free up Disk Space on Mac
Solution 4: Reset PRAM and NVRAM
Resetting the PRAM and NVRAM can often resolve issues related to system settings that might be causing the installation error. PRAM and NVRAM store settings related to display resolution, sound volume, startup disk selection, and more. By resetting them, you can resolve “macOS could not be installed on your computer: error. Here’s how to reset PRAM and NVRAM:
1. Shut down your Mac completely.
2. Press the power button to turn on your Mac.
3. Immediately press and hold the Command, Option, P, and R keys simultaneously.

4. Keep holding the keys until you hear the startup sound for the second time or see the Apple logo appear and disappear for the second time.
5. Release the keys and allow your Mac to continue starting up.
6. After your Mac has started up, attempt to install macOS again and see if the error persists.
Also read: How To Reset PRAM/NVRAM and SMC on Mac
Solution 5: Run First Aid Using Disk Utility
Running First Aid using Disk Utility can help identify and fix disk errors or file system issues that may be contributing to the “macOS could not be installed on your computer” error. Disk Utility is a built-in macOS tool for managing and troubleshooting storage devices. Follow these steps to run First Aid:
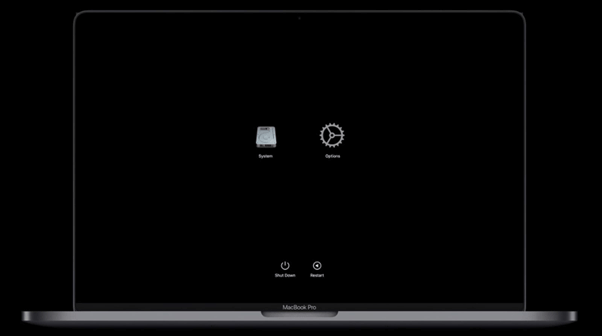
1. Restart your Mac and hold down the Command + R keys simultaneously to boot into macOS Recovery Mode.
2. In the macOS Utilities window, select “Disk Utility” and click “Continue.”
3. In Disk Utility, select your startup disk from the sidebar.
4. Hit on the “First Aid” button.
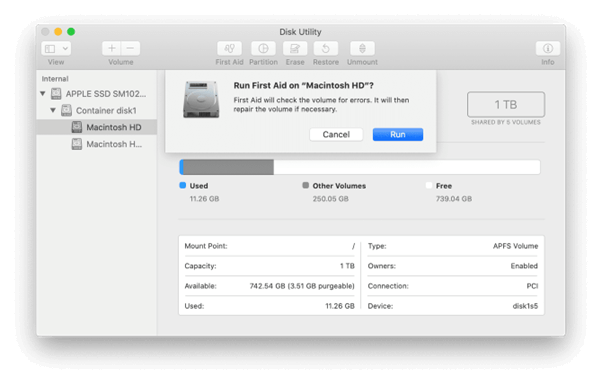
5. Click “Run” to start the First Aid process. Disk Utility will check for and repair any disk errors or file system issues.
6. Wait for the process to complete. It may take some time depending on the size of your disk.
After running the First Aid on your Startup disk, retry the installation process to check if the issue persists.
Solution 6: Reinstall macOS from the Scratch
If all previous solutions have failed to resolve the error, performing a clean reinstallation of macOS might be the most effective solution. Reinstalling macOS from scratch erases your existing system files and installs a fresh copy of macOS.
But before you begin, ensure you have a backup of your important files and data.
Also read: How To Start and Use Mac In Recovery Mode?
Concluding Thoughts: Resolving the “macOS Could Not Be Installed on Your Computer” Error
By following the comprehensive steps outlined in this guide, you can confidently tackle the “macOS could not be installed on your computer” error, reestablishing your Mac’s stability and reclaiming the exceptional user experience macOS is renowned for.
Ensuring that my security software and settings were not causing any interference, helped me to overcome this obstacle. It is important to remember to follow the recommended guidelines and seek further assistance if needed.
Your Mac holds the key to endless possibilities, and with the troubleshooting solutions provided here, you’ll soon be back on track, exploring, creating, and enjoying all that macOS has to offer.
Was this post helpful? Feel free to share your thoughts in the comments section!
 How to Find Application Folder on Mac
 How to Fix Permission Denied on Mac Terminal
 How to Take a Screenshot on Mac Step-By-Step Guide