How to Fix Permission Denied on Mac Terminal
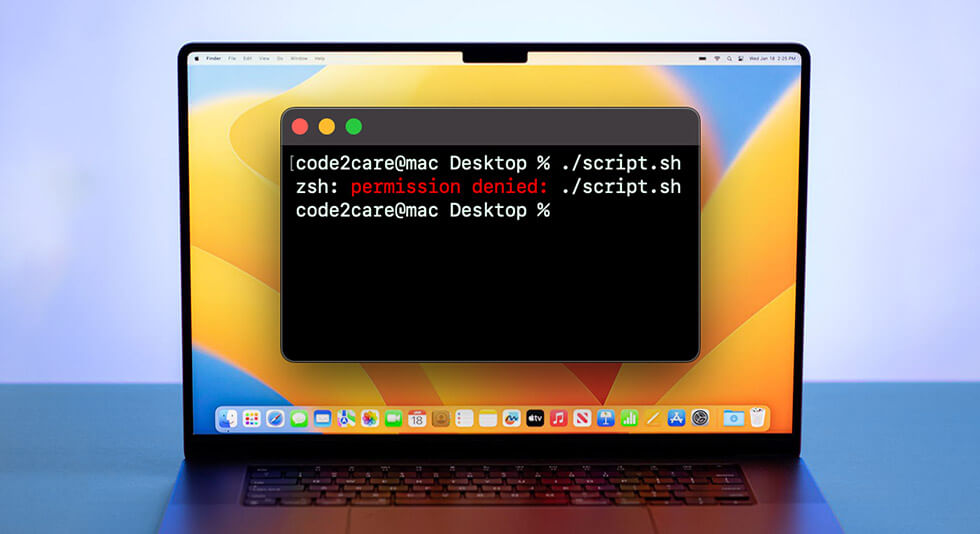
Have you ever encountered the “Permission Denied Mac Terminal” issue when trying to run a command or access a file? In simple terms, it means that you don’t have the necessary privileges to perform the action you’re trying on Mac.
When you use your Mac terminal, you’re essentially asking your computer to do something for you.
For example, if you try to access a file that’s owned by another user, you might not have the necessary permissions to read or modify that file. Similarly, if you try to install software or run a command that requires administrator privileges, you’ll need to enter your password to confirm that you’re authorized to make those changes.
In this post, we have covered a comprehensive guide on how to fix Mac Terminal Permission Denied errors by running a few commands.
Let’s dive in!
What is Mac’s Terminal?

On a Mac, the Terminal is a program that provides a command-line interface for interacting with the operating system. It is a built-in utility that allows users to execute commands, run scripts, and perform various tasks using text-based commands.
Using the Terminal on a Mac, users can navigate the file system, manipulate files and folders, launch applications, and perform many other functions. The Terminal also allows users to access and modify system settings, install and manage software packages, and interact with network devices.
The Terminal on Mac is based on the Unix shell, which is a command-line interface used by many other operating systems. This means that many commands used in the Terminal on Mac are similar to those used in Unix-based systems like Linux.
Although the Terminal can be intimidating for some users who are more accustomed to graphical user interfaces, it provides a powerful tool for advanced users and developers who need to perform tasks quickly and efficiently using text-based commands.
Also read: How to Open and Use Terminal on Mac
|
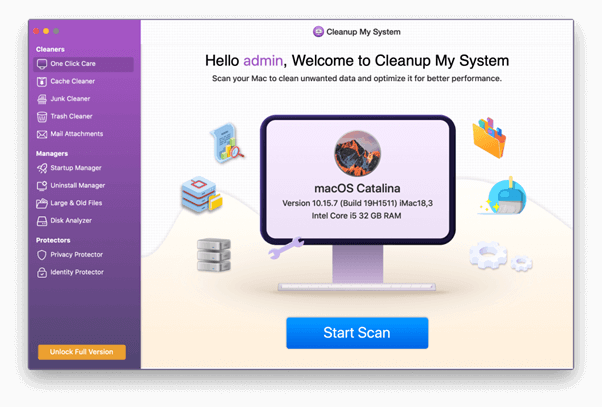
Before we begin… Have you recently been struggling while using your Mac? Has your Mac’s speed and performance been degraded lately? Well, we have a quick recommendation for you that can fine-tune your Mac’s performance in just a few clicks.
Download and install the Cleanup My System app from the Mac App Store to boost your system speed and productivity, reclaim valuable storage space, and achieve peak performance from your Mac. Cleanup My System offers you one-click care for your Mac and helps in making it run faster. It is a professional tuneup tool designed exclusively for macOS that easily finds and removes junk files, large and unused files, and other obsolete data on your device. Get Cleanup My System |

How to Fix the Mac Terminal Permission Denied Error?
Method 1: Check the File Permissions
You can check the file permissions of a file on a Mac using either Finder or Terminal. Follow these steps to get started.
Finder:
Step 1: Open Finder and navigate to the file you want to check.
Step2: Right-click the file and select “Get Info” from the context menu.
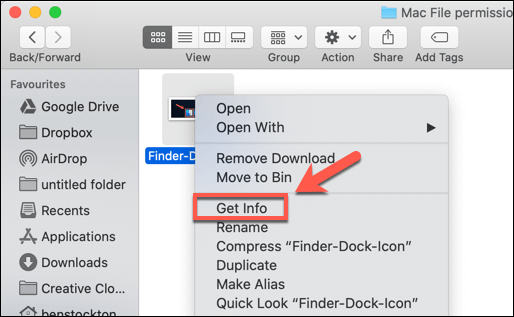
Step 3: In the Info window, look for the “Sharing & Permissions” section to see the file’s permissions.
Terminal:
Step 1: Open Terminal and navigate to the directory containing the file you want to check by using the “cd” command.
Step2: Type “ls -l” followed by the name of the file to display its permissions.
Step 3: The permissions for the file will be displayed in the first column of the output. The three letters following the file type (e.g., -rw-r–r–) represent the file’s permissions for the owner, group, and other users respectively.
Also read: How to Hide or Unhide Files Using Terminal on Mac
Method 2: Change the File Permissions
You can use the “chmod” command in the Terminal to change file permissions if you have the necessary permissions to do so. Be careful when modifying file permissions as it can affect how the file can be accessed and used.
The “chmod 755” is a command used in Unix-based operating systems, including macOS, to change the permissions of a file or directory. This command is used to modify the permissions of a file or directory, with the numerical values representing different levels of permission. The first digit, “7,” refers to the permissions of the file or directory owner, the second digit, “5,” refers to the permissions of the group that the file or directory belongs to, and the third digit, “5,” refers to the permissions of other users on the system.
Follow these steps to change file permissions on Mac using the “chmod” command:
Step 1: Open Terminal and navigate to the directory containing the file or folder whose permissions you want to change.
Step2: Type “chmod 755” followed by a space.
Step 3: Drag and drop the file or folder in the Terminal window.
Step4: Press the Return key to execute the command.
Step 5: The permissions for the file or folder will be updated to allow read, write, and execute access.
Method 3: Change the Directory Ownership
If changing permissions didn’t resolve the “Permission Denied Mac Terminal” issue, try changing the ownership of the directory to your username.
Step 1: Open Terminal and navigate to the parent directory of the directory whose ownership you want to change.
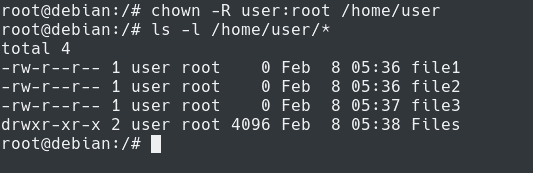
Step2: Type “chown -R [username]:[username] [directorypath]” in the Terminal window, where [username] is your username and [directorypath] is the path to the directory whose ownership you want to change.
Step 3: Drag and drop the directory onto the Terminal window to automatically fill in the directory path.
Step4: Press the Return key to execute the command.
Step 5: The ownership of the directory will be updated to your username.
Run Terminal as Administrator
If you’re still encountering permission errors, try running Terminal commands as an administrator. To do this, open Terminal, type “sudo” followed by the command you want to run, and then enter your password when prompted.
Also, if none of the above solutions work, try rebooting your Mac. This can help reset any system settings that may be causing permission issues.
Also read: How To Find WiFi Password on Mac?
Conclusion
Here are a few commands that you can run to resolve the “Permission Denied Mac Terminal” issue. By following the methods outlined in the blog, you can resolve permission issues and gain more control over your Mac’s file system. With a little bit of practice and experience, you can become more confident and proficient in using the Terminal, which can greatly enhance your productivity and workflow on a Mac.
Was this post helpful? Feel free to share your thoughts in the comments box!
 How To Uninstall Node From Mac
 How to Recover Unsaved Word Document on Mac
 Best File Manager For Mac That Are Perfect Alternatives To Finder