How To Record Mac Screen With Audio
We undoubtedly want an excellent Mac screen recorder with audio to capture screen activities like Zoom meetings. These video files are unable to download or preparing a video file for your new YouTube video. Your reason could be anything, but the question lies around how to record Mac screens with audio.
Well, you have multiple options, including Mac’s in-built tool, QuickTime Player, and other screen recording software. We will open these wraps one by one and make things easier for you. In the end, you can tell us your favorite method and why!
Best Mac Screen Recorder With Audio
We are describing some of the best screen recorder apps ranging from simplest to ones that are loaded with a plethora of features. Amongst them, QuickTime player is pretty simple and easy to use, Screenflick has multiple modes to record screen. In contrast, Capto contains editing features for any media file apart from the usual recording. Read about each of these screen recording software and choose the one suitable for you.
Also Read : Best Mac Apps 2020- That Every Apple Newbie Should Install
Best Mac Screen Recorders
1. The Quickest Option: QuickTime Player
Introduction: QuickTime Player is an in-built Mac screen recorder with audio and does not require you to download any other application. You can choose to record an audio or video file in the easiest manner possible.

How To Use QuickTime Player?
Step 1: Open QuickTime Player by typing in the Spotlight search (Command + Space)
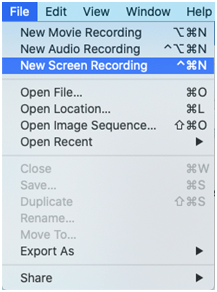
Step 2: Go to File on the screen top bar and choose New screen recording from the menu.
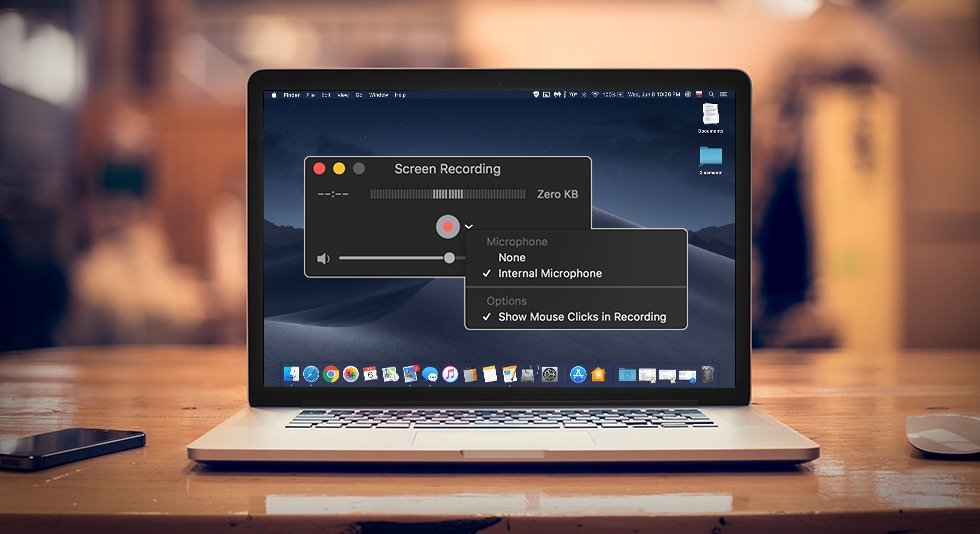
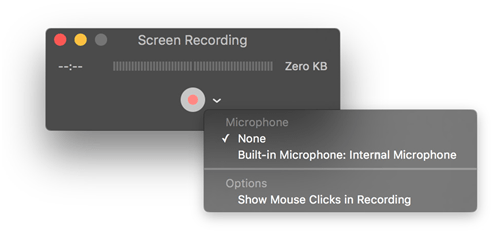
Step 3: Click on the Record button, and you can choose the area of the screen to record. You are free to pick whether you want a full screen or a small portion to be recorded.
Step 4: Once the recording is complete, click on the Pause button from the top menu bar and save the file. Now whatever you want to do with this file, it’s yours. The recorded video will appear on your screen.
Summary:
Pros:
● It is an in-built tool, and one doesn’t need new software to record the screen.
● It works in the quickest manner possible.
● Can record microphone and video camera.
Cons:
● Low performance and poor quality control.
● Very few options are available.
● Audio recording of movies, audios or any other software is not possible.
Despite being the easiest option, one needs another screen recorder app to walk over the cons that QuickTime player displays.
2. The Feature-Packed: Screenflick

Introduction: Making your screen recording with audio easy, this app is easy to use, offers high-performance recording and has the highest quality of output. You can choose a specific section or whole screen at one end whereas it also records the system’s audio, microphone as well as an external mic on the other.
When you wish to export the files, this is the best screen recorder having export options to multiple sizes and formats. Before we spill all the beans, let us go through how Screenflick can record your screen with audio.
How To Use Screenflick?
Step 1: Launch Screenflick on your Mac.
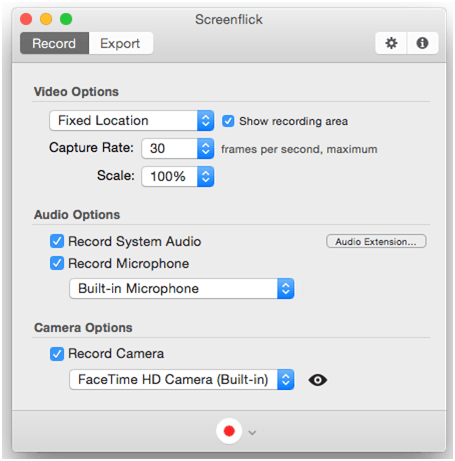
Step 2: Under Record tab, click on ‘Record System Audio’ when you wish to record the sound being played on screen. Click ‘Record Microphone’ when you want to record your voice. Or choose ‘Record Camera’ to record FaceTime cameras.
Step 3: You are free to record the area as required, be it full screen or a portion.
Step 4: Once decided, hit the recording button.
Summary:
Pros:
● Hide your mouse cursor in between the recording for a finished look.
● Get keyboard shortcuts so that you do not need to use a mouse in between.
● Create smart time-lapses using this screen recording software
● Export the recording for YouTube, Gifs, etc.
Cons:
● Any kind of editing feature is not included.
● Cannot record on other iOS devices.
3. Record & Edit With One Screen Recorder App: Capto

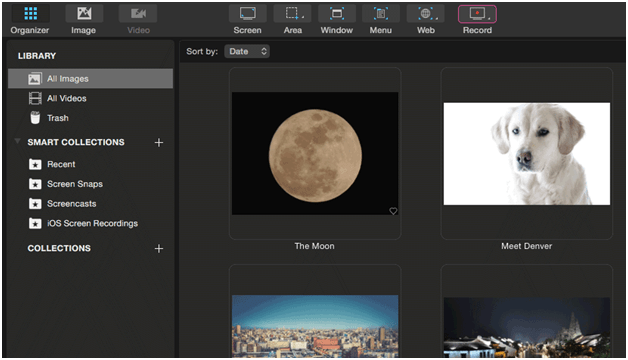
Introduction: Another Mac screen recorder with audio is here to solve all your questions asked. You would like the idea of having the best screen recorder which contains not only high-quality screen recording but also has image capture, adding annotations, organizing the media files as well as instant sharing on all the platforms like YouTube, Dropbox, Evernote, etc.
It also lets you record a particular area or the whole screen, takes instant screenshots and ultimately makes things so simple that you do not want to switch yourself to any other platform.
How To Use Capto?
Step 1: Download and launch Capto on your Mac.
Step 2: From the software menu bar, choose Record to start recording the screen. You are given options to record the whole screen, area or window in the same bar.
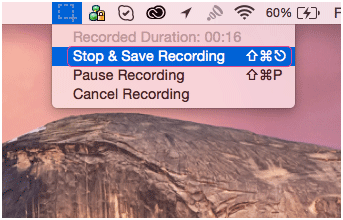
Step 3: Once done, either press Shift + Command + Esc or choose the preferable option from the toolbar as mentioned in the image below.
Other Features:
- Once the recording is done, you can edit it using this screen recorder with cutting, trimming, cropping it or adding annotations. You can even apply arrows, texts, callouts and more to make the video look interesting.
- Choose to import the video from other locations and edit them using this best screen recorder.
- Share the recorded or captured videos/images using OS integrated Facebook, Twitter, Vimeo, Messages or Airdrop settings.
Summary:
Pros:
● Supports recording of FaceTime as well as other iOS devices.
● Offers screen capture, window or area capture besides being a Mac screen recorder with audio.
Cons:
● Limited options for audio editing
● Occasional performance issues keep bothering.
Wrap-Up
As we have mentioned here Mac screen recorder with audio, we are sure you would be able to find the most suitable here. Simple, featured or extra-large bonus? What’s your pick for the screen recorder? Let us know in the comment section below. If you have any other questions, ping us, and we will get back to you soon.
 10 Best Duplicate File Finders for Mac In 2024
 Best Browser For Mac in 2024: Fastest & Lightest
 Best App Uninstaller For Mac In 2024
 Best Mac Hard Drive Clone Software In 2024
 10 Best Mac Temperature Monitor Apps In 2024