How To Fix Wi-Fi Issues On macOS Ventura
Wi-Fi has become a necessity these days. If it goes down or we face issues, things can be very frustrating since our day-to-day jobs may come to a standstill. After having upgraded to macOS Ventura, some users have started to encounter Wi-Fi issues on macOS Ventura. If that’s you, you needn’t jitter. In this post, we’ll look at some of the best ways you can fix Wi-Fi problems on macOS Ventura.
What Wi-Fi Issues May Occur on macOS Ventura?
- Can’t connect to Wi-Fi
- Unable to load certain websites
- Wi-Fi speed slower than usual
- Wi-Fi keeps disconnecting on macOS Ventura
You Might Want To Check –
- If The Wi-Fi Is Down In Your Area?
It could be that the Wi-Fi network is down in your area. You may want to get in touch with your ISP and verify the same.
- If The Wi-Fi Is Working Fine On Other Devices On Your Network?
Check if Wi-Fi is available on another device and if the issues persist. You may want to check the other smartphones or computers on your network. If the Wi-Fi is working perfectly fine on different devices, you may want to try out the fixes mentioned below on your Mac
What To Do if You Encounter Wi-Fi Issues On macOS Ventura
1. Restart Your Mac
We’ll start with some basic and straightforward steps since they are often the only steps you need. First and foremost, restart your Mac once if you face Wi-Fi issues on your macOS Ventura.
2. Switch Wi-Fi Off And Then Switch It On Again
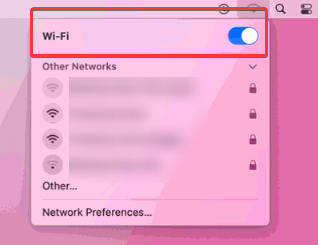
Before you move on to advanced measures, here is a simple step to take in case there are Wi-FI issues on your macOS Ventura. Click on the Wi-Fi symbol present in the menu bar and toggle it off. Please wait for a few seconds and turn it back on. You may also want to ensure you are connected to the right network.
3. Flush Your Mac’s DNS Cache
Wi-Fi issues on macOS Ventura can be resolved by flushing the DNS cache. We recommend this step for various reasons. For instance, the DNS cache may become outdated and cause certain websites to misbehave. An outdated DNS cache can also slow down your network. One of the easiest ways to flush the DNS cache safely is to use a Mac cleaning software like CleanMyMac X. Here are the steps to do the same –
1. Download, install and run CleanMyMac X.

2. From the left-hand side, click on Maintenance under Speed.
3. From the right-hand side, click on Flush DNS Cache.
4. Click on the Run button at the bottom of the screen.
4. Forget Wi-Fi Network
If you are facing Wi-Fi issues on macOS Ventura or Wi-Fi is not working, you can forget the Wi-Fi network and reconnect. To do the same –
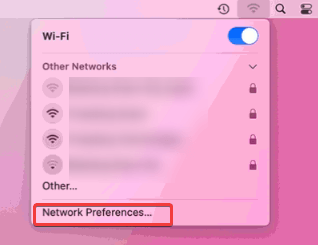
1. Click on the Wi-Fi icon located in your menu bar.
2. Select Network Preferences.
3. Head to the Advanced tab.
4. Under the Wi-Fi tab, select your network, and further, click the minus sign (–) button.
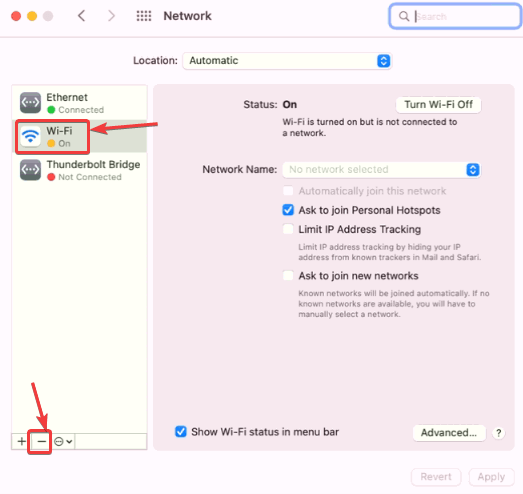
5. You will now be prompted to forget the network. For this, click on Remove.
6. Reconnect to your network again and check if you are facing any Wi-Fi issues or not.
5. Reset Your Wi-Fi Router
If you are facing Wi-Fi-related problems on your macOS Ventura, your Mac per se might not be the culprit. Instead, you might want to check your Wi-Fi router. For any network or hardware-related issues, you can try resetting your router.
6. Reset Mac Network Settings
For various Wi-Fi-related issues on macOS Ventura, resetting the Mac network can be a great fix. This measure can help reset your Wi-Fi and wipe off-network system files. Here are the steps to reset Mac network settings –
1. Turn off your Wi-Fi.
2. Open Finder.
3. Copy-paste this location into the search bar –
/Library/Preferences/SystemConfiguration
4. Please select the following files and move them to the Trash.
- apple.wifi.message-tracer.plist
- plist
- apple.network.eapolclient.configuration.plist
- apple.airport.preferences.plist
7. Change The DNS Server
If flushing the DNS cache didn’t resolve the issue, you can try changing the DNS server to Google’s DNS server. To do that, follow the steps mentioned below –
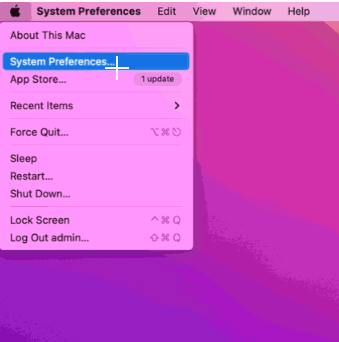
1. Click on the Apple menu and go to System Preferences.
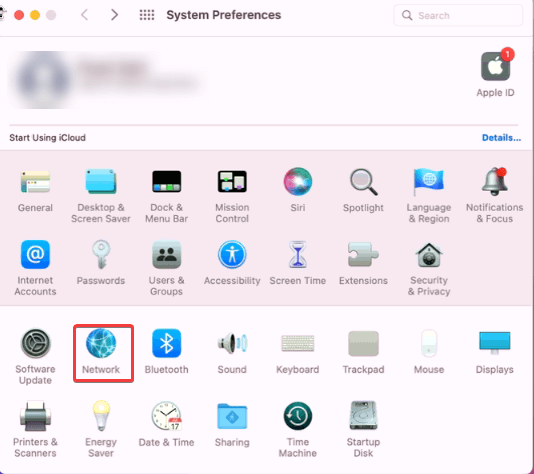
2. Double-click on Network
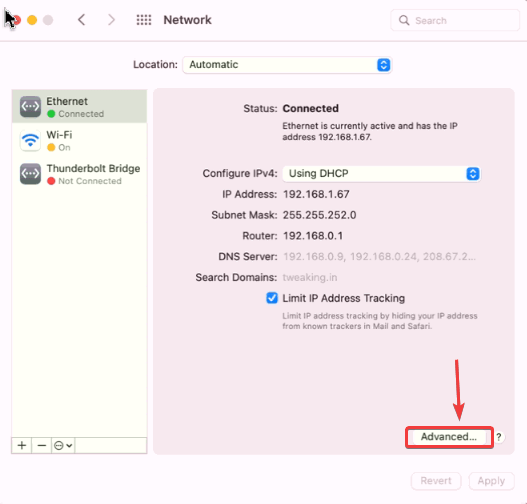
3. Click on the Advanced tab from the bottom-right
4. Click on Renew DHCP Lease
5. Click on the DNS tab and the + sign to add 8.8.8.8 as the first IP and 8.8.4.4 as the second IP address.
6. Click on the Hardware tab and type 1453 under MTU
7. Click on OK
8. Update Your Mac
macOS Ventura is in a development phase, and developers are still trying their best to remove various bugs. If you are facing Wi-Fi problems on Mac, be that some or the other bug responsible for the issue, check for updates. To do that, head to System Preferences and click on Software Update.
9. Reinstall macOS Ventura
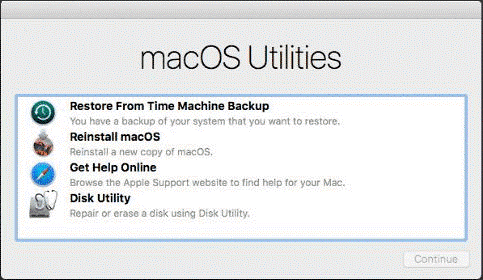
If none of the above troubleshooting methods work, you might want to reinstall macOS Ventura or, if possible, even downgrade macOS Ventura to macOS Monterey.
Wrapping Up
Were you able to resolve Wi-Fi issues on your macOS Ventura? We’d also like you to share your success journey with us in the comments below. You can share with us your issue and how you resolved it. For more such content, keep reading BestMacCleaner, where we talk about everything Mac.
 Best Browser For Mac in 2024: Fastest & Lightest
 10 Best Duplicate Photo Finder For Mac 2024
 How To Fix macOS Monterey is Running Slow Issue
 How to Downgrade to macOS Catalina from macOS Big Sur
 How To Show Hidden Files On MacOS