How To Check Disk Space On Mac: 5 Different Ways
Knowing the amount of free disk space left on your Mac is one of the most important things you can do to maintain performance. Running out of storage space can lead to a whole host of problems – slowdowns, crashes, installation failures, and more. That’s why it’s critical to regularly check disk space on Mac and free up storage when required.
In this comprehensive guide, we provide 5 easy ways how to check storage on Mac. Whether you want a quick overview or a highly detailed technical breakdown, these disk space-checking methods have you covered. You’ll also learn useful tips on managing and freeing up storage space when your Mac’s disk gets full. Monitoring and optimizing your Mac’s disk usage is essential for preventing performance issues.
With the right approach, checking disk space on your Mac takes just a few clicks and provides valuable insights into storage capacity and usage. Read on to boost your Mac’s performance through effective disk space management!
Also read: How To Erase And Reformat A Storage Device In Disk Utility On Mac
How To Check Storage On Mac: 5 Easy Ways
Wondering how to see storage on Mac? Try these 5 easy methods on macOS:
Method 1: How To Check MacBook Storage Using Finder
The quickest and easiest way to see how much disk space is free on your Mac is to use the Finder app. Here’s how:
Step 1: Open a new Finder window by clicking the Finder icon in your dock or choosing Finder from the Applications folder.
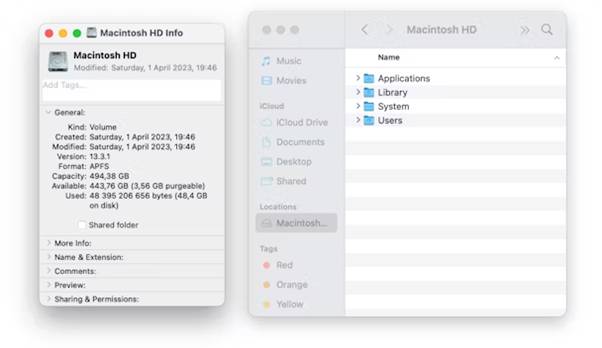
Step 2: In the Finder sidebar, select your startup disk (usually named Macintosh HD). The overview at the top right of the Finder window will display the available space on that disk.
Step 3: You can also click the storage bar chart below the overview to see a color-coded visual breakdown of disk usage by category, like apps, documents, photos, etc.
This provides you with an at-a-glance view of the free space and disk usage on your Mac’s internal hard drive. If you have multiple internal drives or external drives connected, you can check each one individually by selecting it in the Finder sidebar.
Also read: How to Use Target Disk Mode on Mac: Enjoy Quick File Transfers
Method 2: Use About This Mac
The About This Mac window provides a quick snapshot of the storage details for your Mac. Here’s how to access it:
Step 1: Click the Apple menu in the top left corner of your screen. Select “About This Mac.”
Step 2: In the Overview tab of the About This Mac window, look for the Storage section. This shows the amount of available storage space out of the total capacity for each drive.
Step 3: Click the Manage button to explore more additional storage management options.
The About This Mac method presents disk information in an easy-to-understand visual format. It also lets you access quick actions for freeing up disk space.
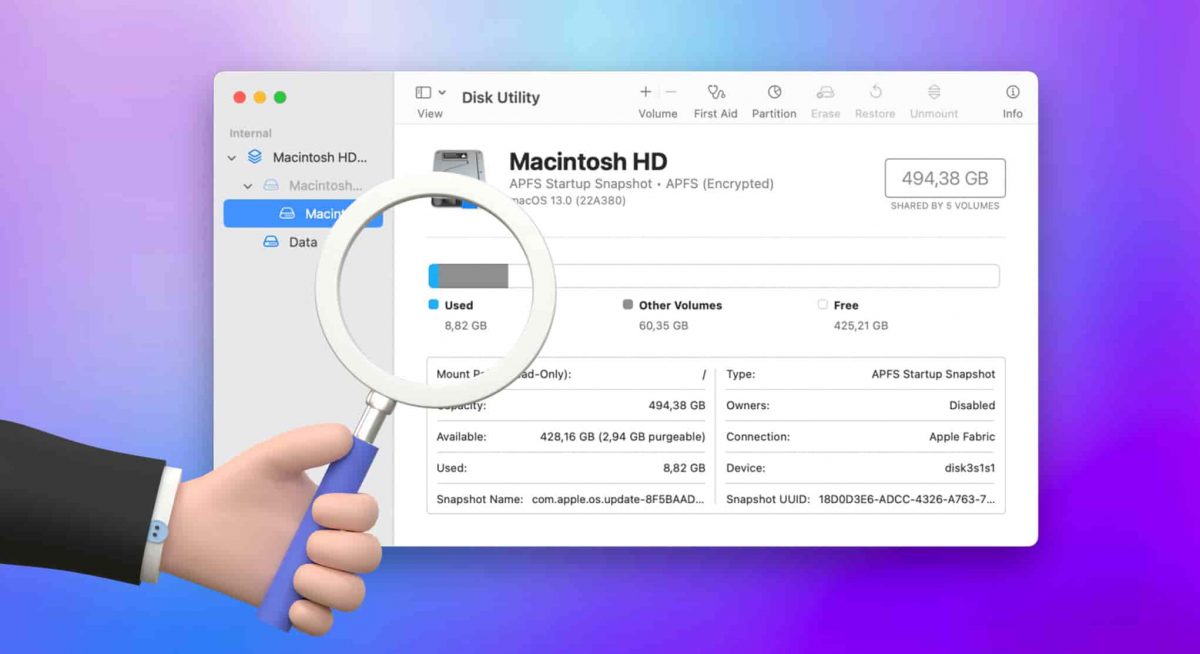
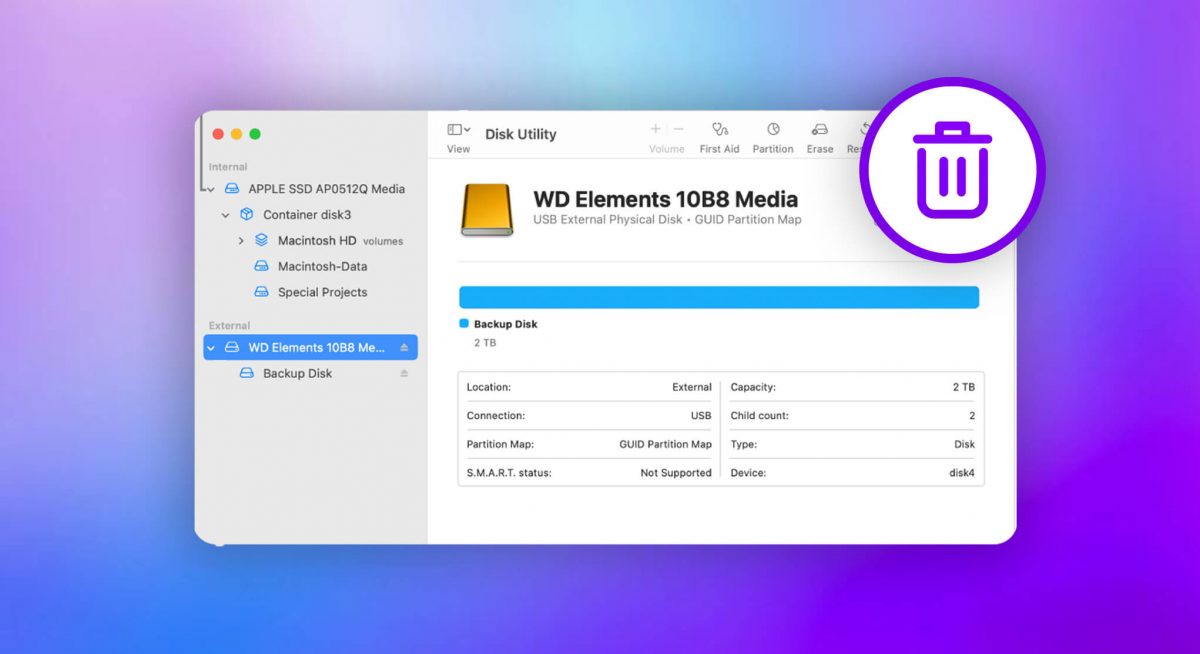
Method 3: How to Check MacBook Storage Using Disk Utility
For more detailed storage data, you can use the Disk Utility app. It offers technical breakdowns of your disk usage and tools for managing storage.
To check disk space with Disk Utility:
Step 1: Open the Disk Utility app, located in Applications > Utilities. Select your startup disk in the sidebar.
Step 2: At the top center of the main Disk Utility window, you’ll see the capacity bar showing used and free space.
Step 3: Click the Info button to get specific technical details about free space, capacity, available bytes, and more. You can also partition or erase disks using the tools in Disk Utility.
Disk Utility is ideal for getting nitty-gritty technical storage details about your Mac and performing disk management as needed.
Method 4: Use commands in the Terminal
The Terminal app provides access to command line interface tools for checking and managing disk storage. Here’s how to check storage on Mac using Terminal commands:
- To show free disk space: df -h
- To show disk usage by file/folder: du -sh [path]
- To list all attached disks: diskutil list
While the Terminal disk commands require more technical know-how, they can be useful for automation and obtaining precise data readouts.
Also read: Streamlining Your Mac’s Storage: How to Delete Partition on Mac
Method 5: How to Check Disk Space on Mac Using third-party apps
There are numerous third-party Mac apps designed to visualize disk usage and offer advanced storage tools. Here are some top options:
- DaisyDisk – Scans disk usage and displays an interactive visual map of all files, simplifying the process of finding and deleting large files .
- OmniDiskSweeper – Shows storage usage by file, folder, and category, along with a timeline of changes. It offers a free version for users.
- Disk Inventory X – A free app that generates an interactive graphical map of disk usage, beneficial for visual learners.
The best third-party apps transform storage management into an easy, visual experience. They provide features that surpass those of the built-in Mac tools, such as interactive usage maps, historical usage tracking, and enhanced space-freeing tools. The free apps mentioned above are excellent choices.
Also read: 10 Best Disk Space Analyzers for Mac
Tips for Managing Mac Disk Space
Once you’ve checked your Mac’s disk space, take advantage of these tips for freeing up storage when needed:
- Delete unused apps, documents, photos, videos, downloads, etc. Be ruthless!
- Move files you don’t access often to external storage or cloud services.
- Use Mac storage management features like Optimize Storage and reduce photo resolution.
- Empty Trash automatically and turn on Optimize Mac Storage in iCloud settings.
- Use the Storage Management recommendations in About This Mac to identify space-wasting files.
- Upgrade to a larger internal hard drive if necessary.
Monitoring and managing disk space is crucial for keeping your Mac running efficiently. Following this guide, you now have several options for checking the storage levels on any Mac. Consistently keeping tabs on your free space helps avoid performance issues down the road.
Conclusion:
This wraps up our guide on how to check storage on Mac using different methods. Checking and managing disk space should become a routine for any Mac user. Using Finder, About This Mac, Disk Utility, Terminal, or a dedicated third-party app makes monitoring usage and availability simple. With these helpful tools at your disposal, you can stay ahead of storage problems before they slow down or damage your Mac.
Using the tips provided, you can also reclaim significant disk space by deleting unneeded files and optimizing storage.
 How To Erase And Reformat A Storage Device In Disk Utility On Mac
 10 Best Disk Space Analyzers for Mac
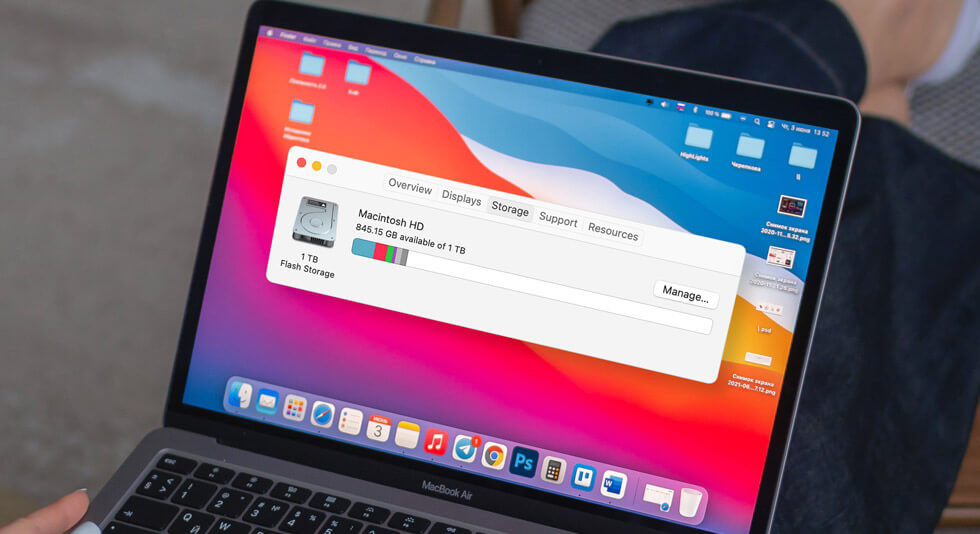 How to Check Storage on Mac | Free up Disk Space on Mac
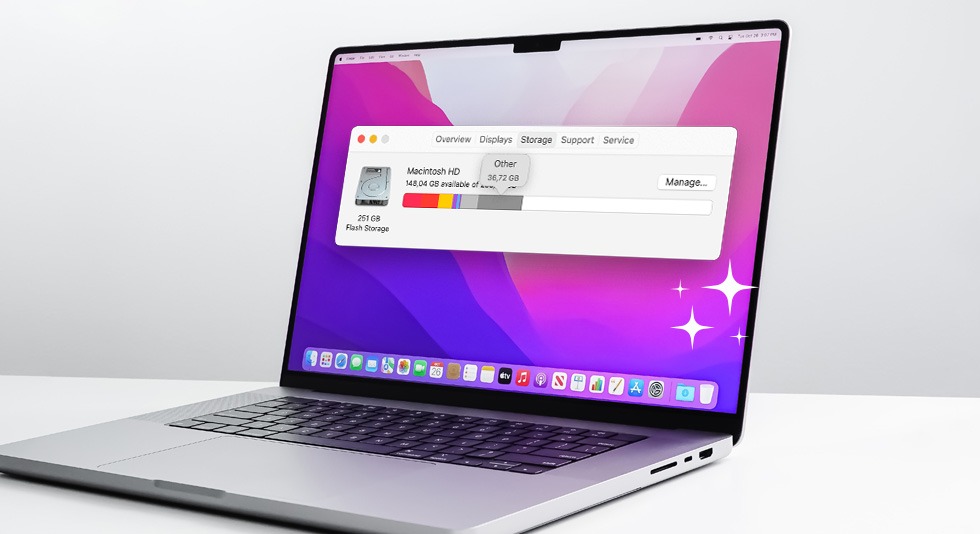 Mac Disk Cleanup Guide 101: How To Free Disk Space On Mac?