Macbook Camera Not Working? Here’s How to Fix it!
Whether you want to work from home, join video conferencing calls to connect with your friends, or family, a webcam is a crucial part of our day-to-day lives. Webcam is an important tool that facilitates communication and connection, enabling remote work and personal interactions, and providing various recording and streaming capabilities.
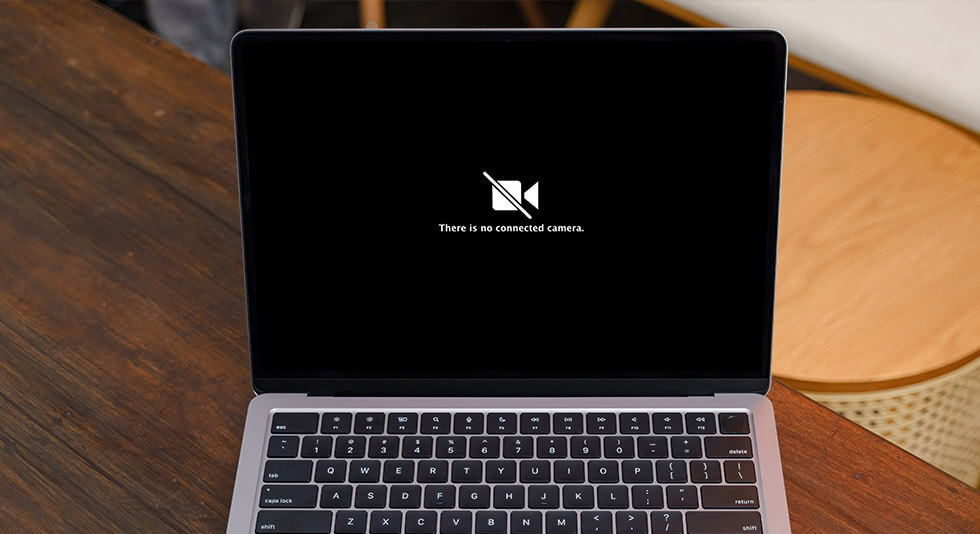
MacBook camera not working? Stuck with the “There is no connected camera” error message? Yes, it can be pretty annoying. In this post, we have listed a variety of solutions that you can use for resolving this glitch to get the camera up and running again within no time.
Why is MacBook Camera not Working?
Your MacBook’s camera may fail to operate because of the following reasons. Some of the most common causes include:
- Software bug or issue: The camera is not enabled in the settings, or there may be a software bug that needs to be fixed.
- Permission issue: The camera may be blocked by security settings or privacy settings.
- Physical damage: The lens may be obstructed or damaged.
- Outdated software: The camera driver or software may be outdated and need to be updated.
- Hardware issue: The camera is not connected properly or may be faulty and need to be repaired or replaced.
Also read: 10 Best Video Editing Software for Mac in 2023
Mac Camera Not Working? Try These Solutions!
Solution 1: Check the Connections

If you’re using an external webcam on your Mac then make sure that all the physical connections are in place. Take care of the following things before moving to complex troubleshooting:
- Check all the ports thoroughly to ensure that they are not blocked or covered with dust or debris.
- When you insert the webcam’s cable, make sure it is tightly fixed into the port.
- Try switching to an alternative USB port to connect the camera.
Solution 2: Manually Enable the Camera
macOS also allows you to manually enable external devices via Terminal. Here’s what you need to do:
Step 1: Head on to Applications> Utilities> Terminal.
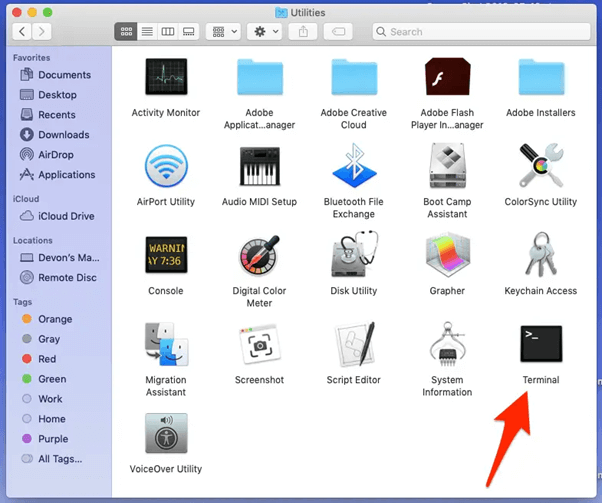
Step 2: In the Terminal window, type the following command and press the Return key to execute it:
sudo killall VDCAssistant
Step 3: Once you run this command on your device, macOS will force quit all the apps that are used by the camera to reset it.
Also read: How to Fix “Macbook Keyboard not Working” Issue on Mac
Solution 3: Check the Internet Connection
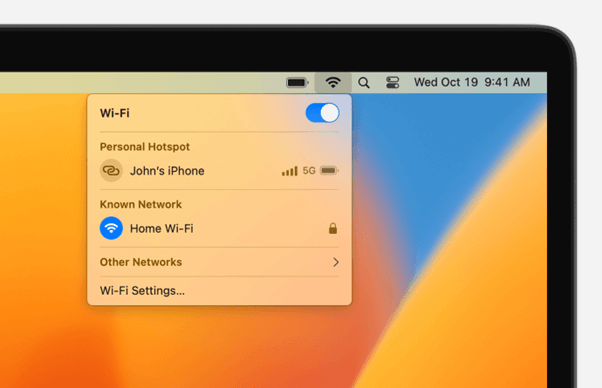
Poor network connectivity might also be a common cause of why the camera may fail to function smoothly. So, make sure that your MacBook is connected to a stable WiFi network to enjoy an uninterrupted streaming or conferencing session. You can also try rebooting the WiFi router to improve the Internet’s speed.
Solution 4: Review the App’s Settings
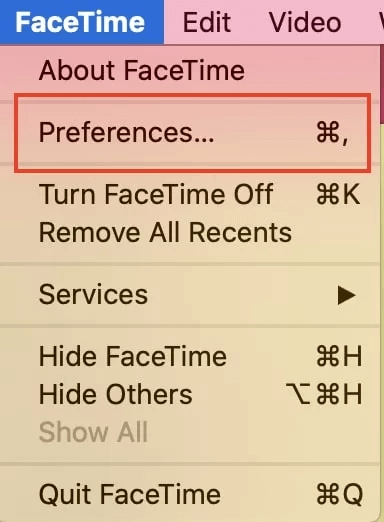
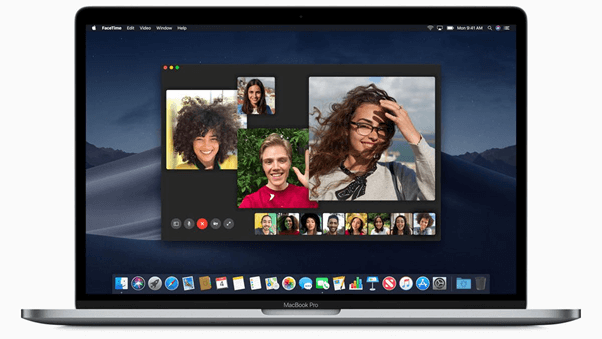
We often use Mac’s camera on a certain app, be it FaceTime, Skype, or Zoom. If you are facing any problems while using the camera on an individual app, tap on the app’s name on the top menu bar and open Preferences to review settings.
Solution 5: Quit the Other Apps
At a time, only one app can get access to your Mac’s camera. If multiple apps are using your MacBook’s camera simultaneously, it may fail to function. To check if other apps are also using Mac’s camera, follow these steps:
Step 1: Head on to Applications> Utilities> Activity Monitor.
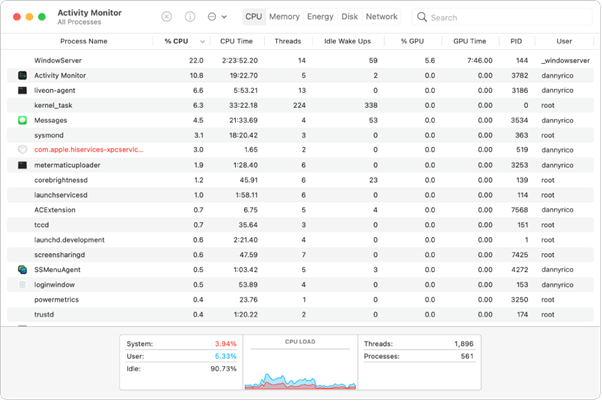
Step 2: Now, scroll through the list of apps and force-quit the applications that you think are potentially using your Mac’s camera.
Solution 6: Reset SMC
Here comes another effective workaround to fix the “Macbook Pro Camera not Working” issue. SMC stands for System Management Controller, a crucial component on Mac that manages thermal and power functions on your device. If you are unable to fix the MacBook camera using the above-listed solutions then resetting the SMC might be helpful. Here’s what you need to do:
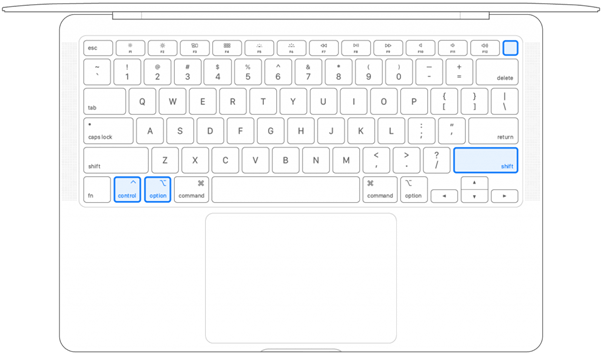
MacBook Pro with Non-removable Battery:
- Power OFF your Mac.
- Unplug the power after and then re-connect it.
- Hold the Shift + Control + Option keys and the Power button at the same time for about 7-8 seconds.
- Release all the keys and then Power ON your Mac.
MacBook Pro with removable battery:
- Shut down your Mac.
- Remove the battery.
- Hold down the power button for 5 seconds.
- Reinstall the battery.
- Press the power button to turn on your Mac.
Resetting the System Management Controller (SMC) can help resolve hardware issues on Mac, including the camera.
Also read: How To Flush DNS Cache on Mac
Solution 6: Update your Mac
Step 1: Tap on the Apple icon placed on the top menu bar and select “About this Mac”.
Step 2: Tap on “Software Update”. If any update is available for your device, download and install the latest version of macOS right away.
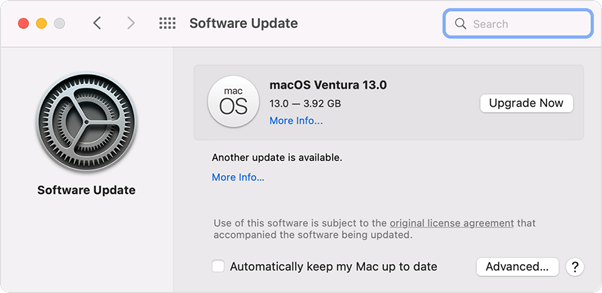
Step 3: Hit on the “Upgrade now” button.
After upgrading your MacBook, try using the camera to check if the issue was resolved.
Conclusion
Here were a few simple solutions to fix the MacBook camera not working issue. You can use any of the above-listed solutions to get the MacBook camera up and running within no time. If the camera still isn’t working after trying these workarounds, you may need to contact Apple support for further assistance.
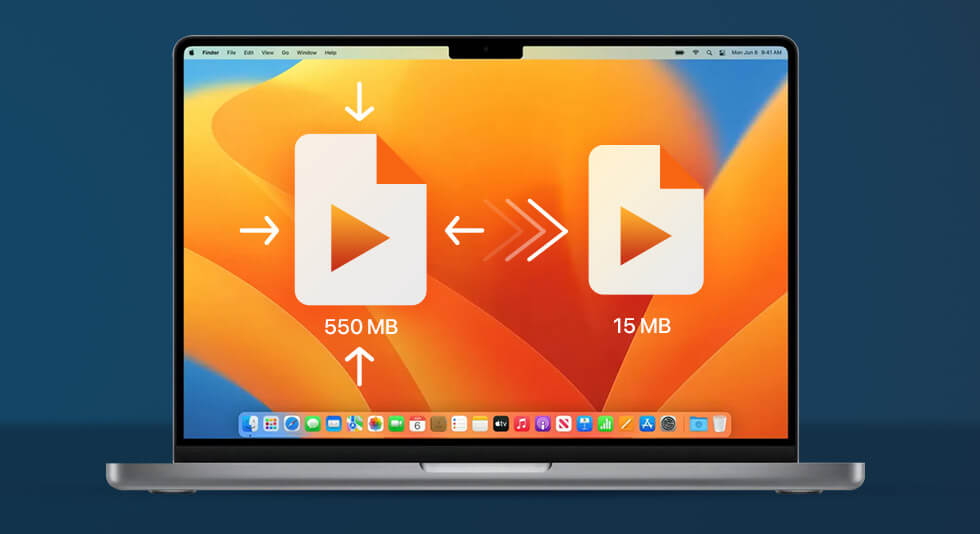 How To Compress Video On Mac – Easy Ways
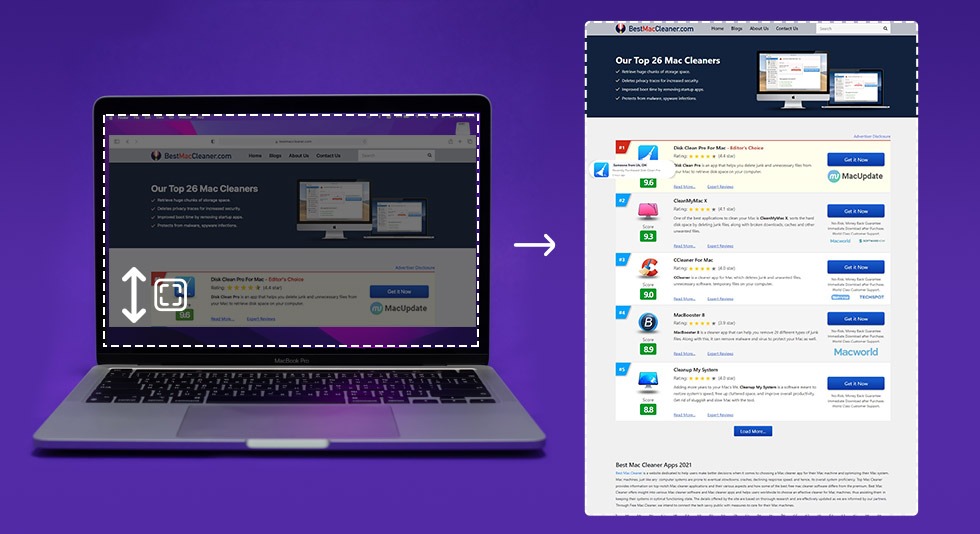 Best Tools To Take Scrolling Screenshots on Mac 2024
 10 Best Image Viewer Apps for Mac 2024
 Best Mac Apps In 2024: Must Have Software For Macbook (Free/ Paid)