How to Make a Slideshow on Mac: Create Stunning Presentations with Ease
As we rely on technology, presentations have become an integral part of communication, whether it’s for business, education, or personal purposes. And when it comes to creating visually appealing and engaging presentations, Mac users have a plethora of options at their disposal that can be used to enhance their creativity. Mac’s native tools including Keynote, Photos, and Preview allow you to effortlessly create stunning slideshows that captivate your audience. And apart from this, there are also third-party tools available that make the complex task of creating a slideshow a breeze.

In this article, we will explore various methods of how to make a slideshow on Mac, catering to both beginners and seasoned users. So, if you’re ready to take your presentations to the next level, let’s dive in and discover the exciting possibilities awaiting you on your Mac!
Also read: 8 Best Stop Motion Software for Mac
How to Create a Slideshow on Mac
1. Use the Keynote App
If you’re looking for a feature-rich and user-friendly tool to create a slideshow on your Mac, look no further than the Keynote app. Developed by Apple, Keynote is a powerful presentation software that offers a wide range of tools and features to help you design and deliver stunning slideshows with ease.
To get started with Keynote, simply follow these steps:
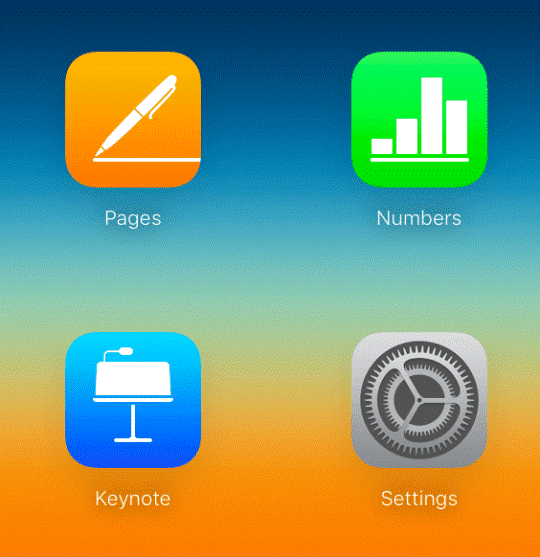
Step 1: Launch the Keynote app on your Mac. You can find it in the Applications folder or by using Spotlight search.
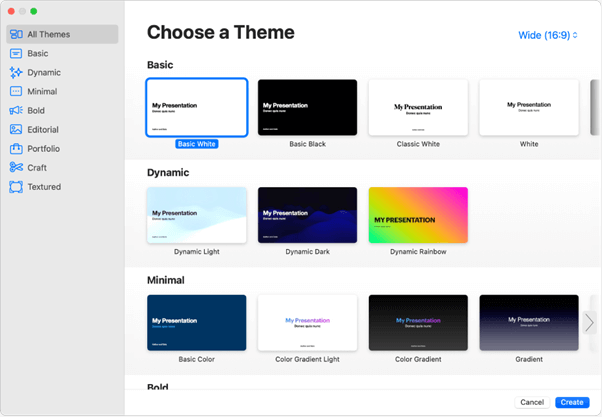
Step 2: Once Keynote is open, click on “New Document” to create a new slideshow. You’ll be presented with various pre-designed templates to choose from, or you can start with a blank canvas and customize your presentation from scratch.
Step 3: Now it’s time to add your content to make creative and engaging presentations. Keynote allows you to insert text, images, charts, graphs, videos, and even interactive elements to make your slideshow engaging and visually appealing. You can easily drag and drop these elements onto your slides and arrange them as desired.
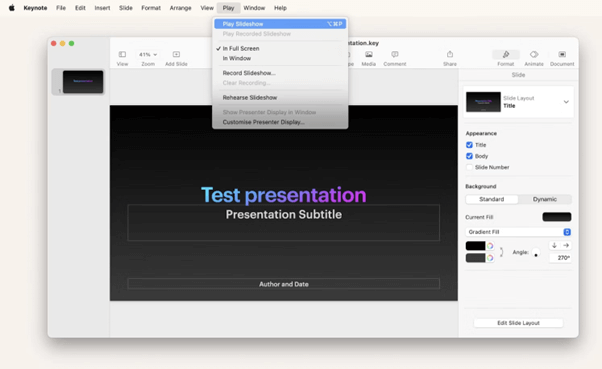
Step 4: Once your slideshow is complete, you can preview it by clicking on the “Play” button or by selecting “Play Slideshow” from the “Play” menu. And that’s it! This allows you to test the flow and timing of your presentation before sharing it with others.
Step 5: To share your slideshow, you have multiple options. You can export it as a Keynote file, a PowerPoint presentation, a PDF, or even a video. Keynote also allows you to collaborate with others in real time, making it easy to work on presentations with colleagues or classmates.
With its intuitive interface and extensive range of features, Keynote provides a seamless experience for creating and presenting professional-quality slideshows on your Mac.
Also read: How to Turn on Do Not Disturb on Mac
2. Use the Photos App
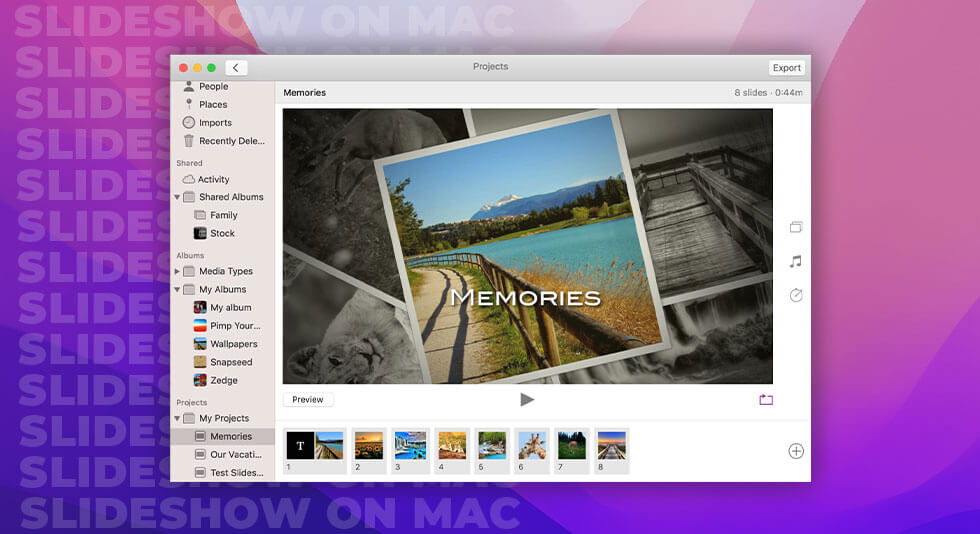
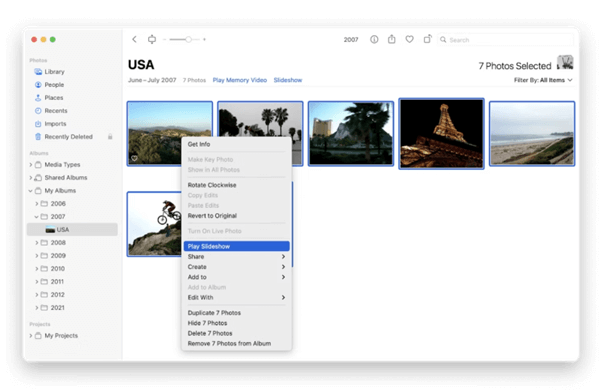
Wondering how to make a slideshow on Mac using the default Photos app? If you have a collection of photos and want to showcase them in a visually appealing manner, the Photos app offers a simple and convenient way to create a slideshow without the need for any additional software. Let’s dive into the steps:
Step 1: Open the Photos app on your Mac. You can find it in the Applications folder or by using Spotlight search.
Step 2: Select the photos you want to include in your slideshow. You can hold down the Command key and click on individual photos, or use Shift to select a range of photos.
Step 3: Once you have selected the photos, click on the “+” icon located at the top of the Photos app window. From the dropdown menu, choose “Create Slideshow.”
Step 4: A new window will appear, allowing you to customize your slideshow. Here, you can give your slideshow a title, select a theme, and choose the transition style between each photo. The Photos app offers a range of themes and transition options to suit your preferences.

Step 5: After customizing the slideshow settings, click on the “Play” button to preview your slideshow. This gives you a chance to see how the photos flow and the transitions between them.
Step 6: If you’re satisfied with the preview, you can go ahead and share your slideshow. Click on the “Export” button, and you’ll be presented with various options to save and share your slideshow.
The Photos app makes it incredibly easy to create a slideshow using your personal photo collection. Whether it’s for a special occasion, a trip, or simply to share memories with friends and family, this method allows you to quickly compile and present your photos in an engaging way.
3. Use Mac’s Preview
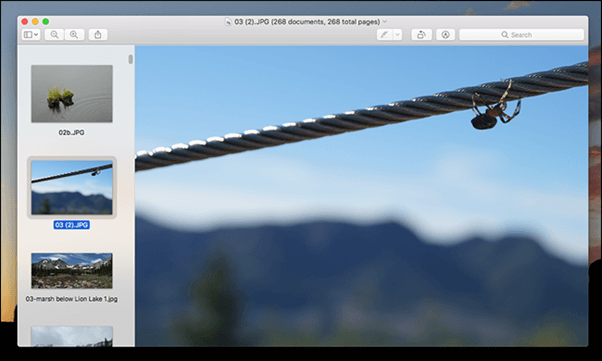
When it comes to creating a slideshow on your Mac, you might be surprised to learn that you can utilize the Preview app – a built-in tool that you may already be familiar with for viewing and editing images and PDFs. While Preview may not offer as many advanced features as dedicated presentation software, it still provides a straightforward way to create a basic slideshow. Here’s how:
When using the Preview app to create a slideshow on your Mac, you first open the app and select the images you want to include. Then, you open the selected images in Preview and go to the “View” menu to choose the “Slideshow” option. This will initiate the slideshow mode, displaying your images in a full-screen view with automatic transitions between them.
You can use keyboard shortcuts to navigate through the slideshow or set it to play automatically. While Preview’s slideshow feature is more basic compared to dedicated presentation software, it offers a quick and easy way to showcase your images without the need for additional tools.
Also read: 10 Best Slideshow Maker For Mac
How to Make a Slideshow on Mac Using Third-Party Tool:
4. Use Movavi Slideshow Maker for Mac
Movavi Slideshow Maker for Mac is a dedicated software that allows you to create impressive slideshows on your Mac computer. After installing the application, you can start a new project and add your photos and videos. Movavi Slideshow Maker offers an easy-to-use interface with drag-and-drop functionality, allowing you to arrange and customize your media files.
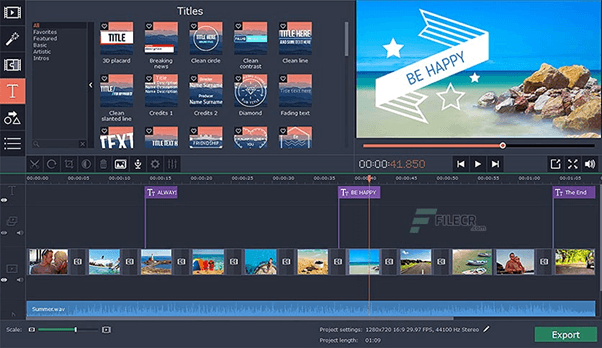
You can enhance your slideshow by adding transitions, effects, music, and even voiceovers. The software provides options to adjust the timing and duration of each slide and transition, ensuring a smooth and engaging flow. Once you’re satisfied with your creation, you can preview it and then export it in various formats, including video files or direct sharing on social media platforms.
Movavi is one of the best slideshow makers for Mac that simplifies the process of creating visually stunning and professional-quality slideshows within no time.
Conclusion
This wraps up our guide on how to make a slideshow on Mac. Creating a slideshow on your Mac is a breeze with the variety of methods available. Whether you choose to use the native Keynote app, the Photos app, the Preview app, or dedicated software like Movavi Slideshow Maker, you have the power to transform your collection of photos and videos into captivating presentations.
So, now whenever the thought of how to create a slideshow on Mac crosses your mind, grab your Mac, and explore the different methods outlined in this article. Let your creativity shine through as you create stunning slideshows that leave a lasting impression on your audience.
 How To Fix “Your System Has Run Out Of Application Memory” Mac Error
 8 Best Stop Motion Software for Mac In 2024
 Best Snipping Tools For Mac To Use In 2024
 Best WiFi Analyzer Apps For Mac in 2024 [Free/Paid]