How To Resize an Image on Mac Without Losing Quality
Having the ability to resize images is a valuable skill in various scenarios, whether you’re a professional photographer, a graphic designer, or simply someone who wants to share captivating visuals. Fortunately, Mac users have access to a range of built-in tools and third-party applications that make image resizing a seamless process. If you’re eager to learn how to resize images on your Mac effortlessly, this guide is here to assist you.

In this blog post, we have covered a comprehensive guide on resizing an image on Mac, covering native applications like Preview and Photos, as well as third-party software options. By the end of this guide, you’ll have the knowledge and confidence to resize images like a pro.
Also read: Best Ways To Organize Photos on Mac: Streamline Your Mac’s Photo Library
How to Resize An Image on Mac
If you’re ready to discover the various methods available to resize images on your Mac, let’s jump right in and unlock the potential of visual transformation.
1. Use the Preview App
As a Mac user, you have access to a powerful built-in application called Preview, which not only allows you to view images and PDFs but also offers basic image editing capabilities, including resizing. With Preview, you can quickly and easily resize images to meet your specific requirements.
Here is the step-by-step process of resizing images on your Mac using the Preview app.
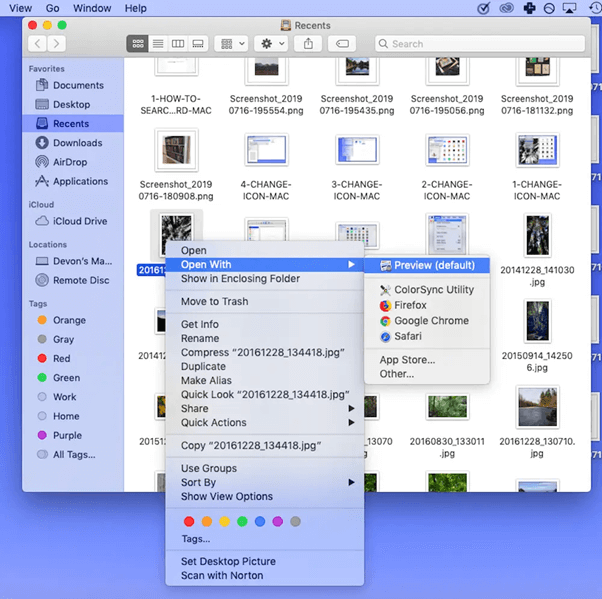
Step 1: Start by opening the image you want to resize in the Preview app. You can do this by double-clicking the image file or right-clicking the file and choosing “Open With” followed by “Preview.”
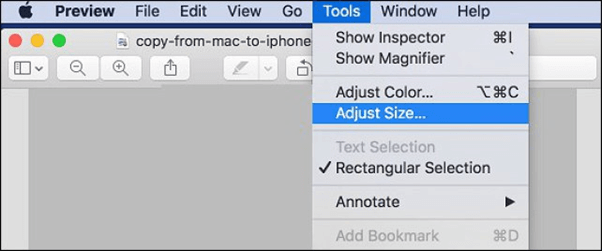
Step 2:In the Preview window, look for the “Tools” menu at the top of the menu and select “Adjust Size” option.
Step 3: Inside the Adjust Size window, you’ll see the current dimensions of the image. To maintain the image’s proportions while resizing, ensure that the “Scale proportionally” checkbox is selected.
Step 4: Now, it’s time to resize the image. You have a couple of options here.
If you want to resize it by a specific percentage, enter the desired percentage in the “Percent” field. Alternatively, if you prefer specifying exact width and height values, input those values in the “Width” and “Height” fields respectively.

Step 5: As you make the adjustments, Preview will show you a glimpse of the resized image. Take a moment to review it and make sure you’re satisfied with the changes. Once you’re happy, click the “OK” button.
Step 6: The last step is to save your resized image. Go to the “File” menu at the top, select “Save” or “Save As,” and choose your desired file format and location. Click “Save,” and voila! Your resized image is now ready to use.
By following these simple steps, you can easily resize images using the Preview app on your Mac.
Also read: How To Transfer Photos From iPhone to Mac
2. Use the Photos App
Yes, you can also use the Photos app to resize an image on Mac. Here are the steps to resize images on Mac using the Photos app:
Step 1: Open the Photos app on your Mac. You can find it in the Applications folder or by searching for it using Spotlight (press Command + Spacebar and type “Photos”).
Step 2: Once the Photos app gets opened, locate and select the image you want to resize from your library.
Step 3: With the image selected, click on the “Edit” button located in the top-right corner of the Photos app window. This will open the editing interface.
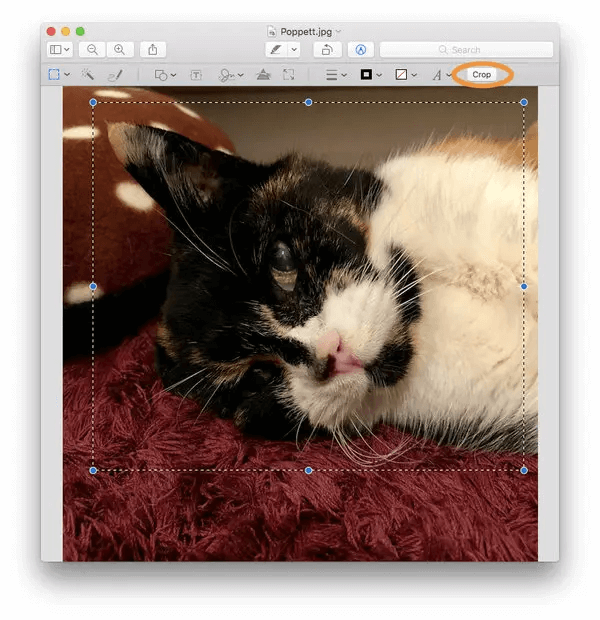
Step 4: In the editing interface, you will see a row of icons at the bottom. Click on the “Crop” icon, which looks like a square overlaid with diagonal lines.
Step 5: After selecting the Crop icon, you will notice a dropdown menu labeled as “Aspect” in the toolbar above the image. Click on the dropdown menu and choose “Custom” option.
Step 6: Now, you can manually adjust the size of the image by dragging the corners of the crop box inward or outward. As you resize the image, you will see the dimensions changing in real time.
Step7: To maintain the aspect ratio while resizing, hold down the Shift key while dragging the corners of the crop box.
Step 8: Once you are satisfied with the resized image, click on the “Done” button in the top-right corner to save your changes.
Step 9: Lastly, to export the resized image, click on the “File” menu in the top-left corner of the screen and choose “Export” or “Export [Number] Photos”.
Select the desired file format, location, and click “Export” to save the resized image.
By following these steps, you can easily resize images on your Mac using the Photos app. Enjoy the convenience of resizing your images to fit specific requirements or to optimize them for different platforms and uses.
Also read: How To Fix “Photoshop Scratch Disk Full Mac” On Mac
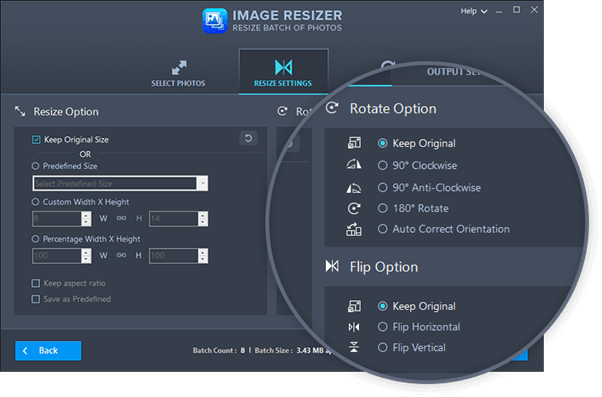
3. Use the Image Resizer Tool
Are you tired of manually resizing, flipping, rotating, and renaming your images one by one? Look no further! Image Resizer is here to revolutionize your image editing workflow. With its powerful capabilities,you can resize, flip, rotate, rename, and change the format of multiple images simultaneously, while preserving their visual quality.
Whether you have an entire folder of images or just a handful that needs resizing, Image Resizer simplifies the process to resize image on Mac, saving you valuable time and effort. Say goodbye to the tedious task of resizing each image one by one. With Image Resizer, you can apply the desired changes to a batch of images with just a few clicks.
One of the standout features of Image Resizer is its ability to resize images without compromising their visual quality. Whether you need to reduce the file size for web optimization or adjust the dimensions for a specific project, rest assured that your images will maintain their sharpness and clarity.
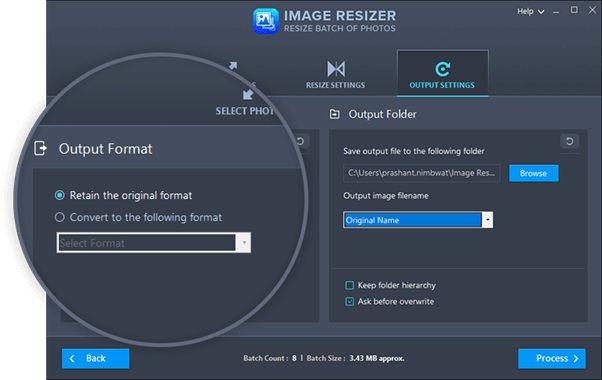
Furthermore, Image Resizer supports a wide range of image formats, allowing you to convert files effortlessly. Whether you need to convert your images to JPEG, PNG, GIF, or any other popular format, Image Resizer has you covered.
Download today!

Also read: 10 Best Duplicate Photo Finder For Mac
Conclusion | Resize Your Images on Mac Like a Pro
This wraps up our guide on how to resize an image on Mac using different methods. Resizing images on your Mac is a crucial skill that empowers you to optimize visuals for various purposes, whether it’s sharing on social media, creating stunning designs, or reducing file sizes for storage efficiency. With the availability of tools like Preview, Photos, and the versatile Image Resizer, the process becomes seamless and hassle-free.
By following the step-by-step guides provided in this blog, you can confidently resize image on Mac like a pro. Whether you prefer using the built-in apps or exploring third-party tools, you have the flexibility to choose the method that suits your needs and preferences.
Was this post helpful? Feel free to share your thoughts in the comments section!
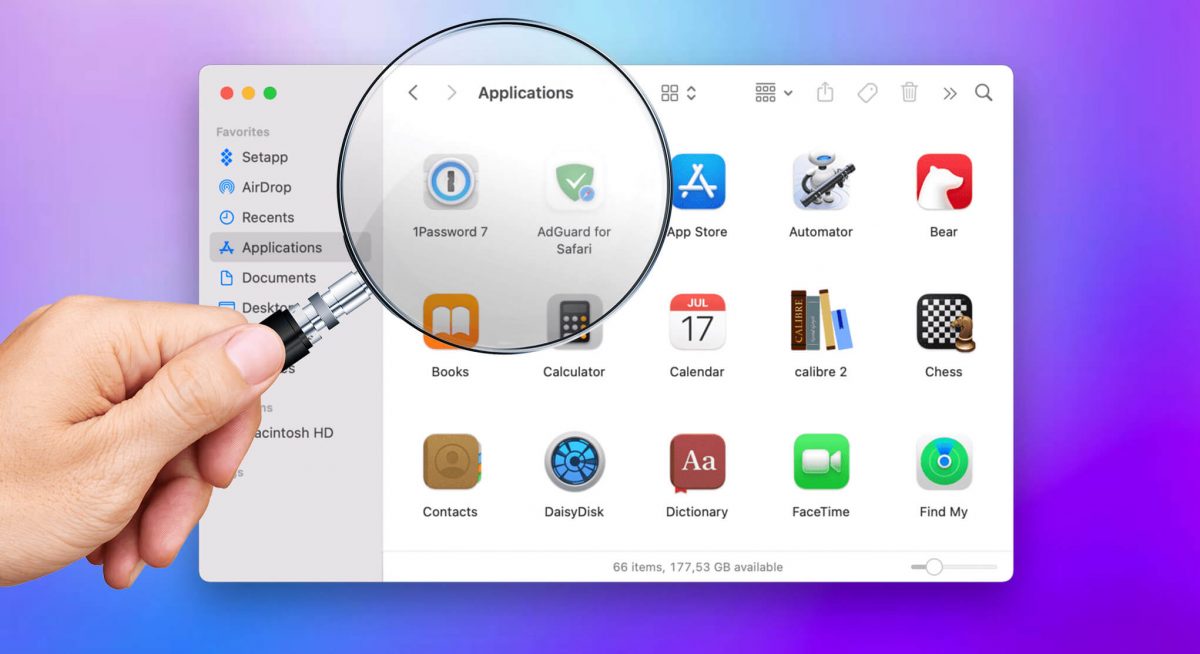 How to Find Application Folder on Mac
 Best MS Paint Alternative for Mac: Get This Mac Equivalent To MS Paint Today!
 10 Best Image Resizing App For Mac in 2024
 10 Best Batch Photo Editors For Mac 2024