How to Take a Screenshot on Mac Step-By-Step Guide
Effortlessly Capture Your Screen: Tips and Tricks for Taking a Screenshot on Mac!
Have you recently switched from Windows to macOS and found yourself missing the “Prt Scn” key? If so, you may be wondering how to take a screenshot on your Mac.
Taking screenshots is an essential part of our daily digital communication. Whether you need to capture a funny meme, save an important message, or share a bug/error message snapshot with the tech support team. The ability to capture screenshots can come in handy in many situations.
Fortunately, capturing screenshots on a Mac is simply effortless once you know how to do it. So, let’s explore some simple methods for taking screenshots on your Mac.
Let’s dive in!
How to Screenshot on Mac Using Different Methods
We’ll explore four different ways to grab snapshots on MacBook using shortcuts and built-in tools.
1. Use the Keyboard Shortcuts
Using keyboard shortcuts is the quickest way to capture a screenshot on a Mac. Here are the steps:
1. Command+Shift+3: This keyboard shortcut can be used to capture the entire screen. As soon as you hear the shutter sound, it indicates that the screenshot is automatically saved on your desktop as a PNG file.
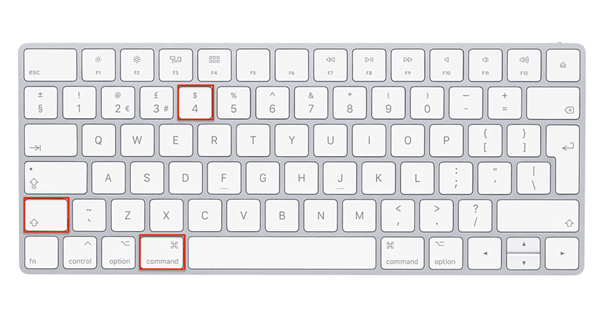
2. Command+Shift+4: In case, you want to take a screenshot of a specific portion of the screen, you can use this keyboard shortcut. Use your mouse to drag the crosshair cursor over the area you want to capture, then release the mouse button. The screenshot will automatically be saved as a PNG file once you hear the camera shutter sound.
3. Command+Shift+5: If you need more precise control over your screenshot, try using “Command + Shift + 5”. This shortcut opens the Screenshot app, which allows you to select the type of screenshot you want to take, choose the destination folder, and set a timer if you wish to automatically grab a screenshot.
And that’s it! With these simple keyboard shortcuts, you can take a screenshot on your Mac in no time.
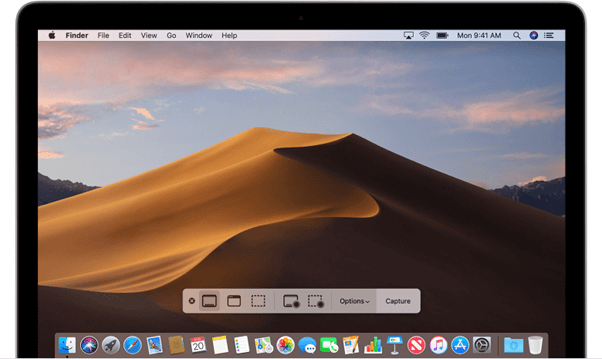
2. Use Mac’s Screenshot Menu
If you’re using older macOS versions, capturing screenshots can be done with ease thanks to the dedicated keyboard shortcuts available. However, on macOS Mojave and later versions, you have the option to either use the screenshot menu or keyboard shortcuts to take a screenshot.
With the screenshot menu, you can choose between capturing the entire screen, a selected window, or a specific portion of the screen. However, previous macOS versions released before Mojave don’t have the screenshot menu and instead have commands for capturing either the whole screen or a portion of it.
If you’re using macOS Mojave, Catalina, Big Sur, or Monterey, you can simply use the keyboard shortcut “Command + Shift + 5” to bring up the screen capture menu. From there, you can choose to capture the entire screen, a selected window, a specific portion of the screen, or even record the entire screen or a selected portion.
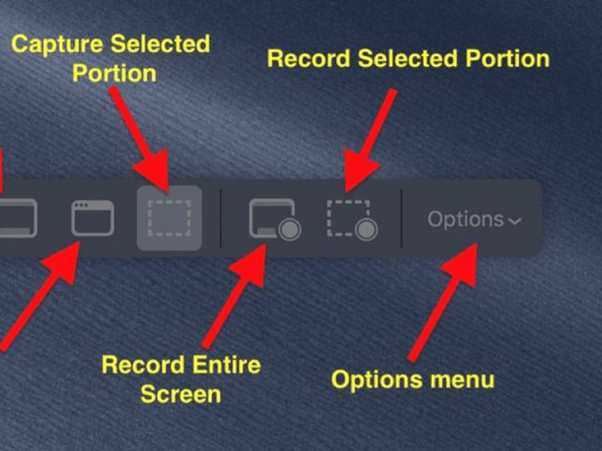
The screenshot bar offers you all these options along with additional “Options” and “Capture” buttons. Further, you can tinker with options to select the location to save the screenshot, set a timer, choose a cursor type, and enable/disable the sound of the camera shutter.
Also read: Best Snipping Tools For Mac To Use In 2023
3. Use the Touch bar
Here comes the next method in our guide covering “how to take a screenshot on Mac”. If you own a MacBook Pro with a Touch Bar, taking screenshots on your Mac has become even more convenient. The Touch Bar can be used to take quick screenshots and offers a range of options to customize your captured output..
To take a screenshot on a MacBook Pro with a Touch Bar, follow these steps:
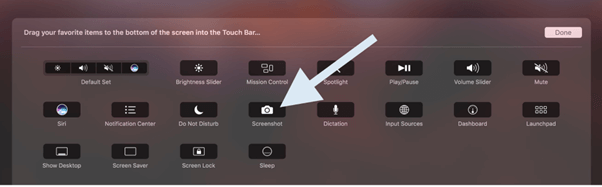
1. Press “Shift + Command + 5” on your keyboard to bring up the Screenshot menu.
2. In the Screenshot menu, click on the Options button.
3. Tap on the“Show Floating Thumbnail” to enable the feature.
4. Now, when you want to take a screenshot, tap on the Screenshot icon on the Touch Bar. You will see a preview of your screenshot in the bottom right corner of your screen.
5. From the preview, you can either click on it to open the screenshot in a window or drag it to an app to share it.
6. If you want to customize your screenshot, you can click and hold on to the Screenshot icon to access additional options, such as capturing a selected portion, a window, or a timed screenshot.
With these simple steps, taking screenshots on your MacBook Pro with a Touch Bar has become much more streamlined and convenient. So go ahead, capture, and share your screen with ease!
Also read: How To Transfer Photos From iPhone to Mac
How to Screenshot on MacBook Using Preview?
While using keyboard shortcuts or the Screenshot app is the most common way to take screenshots on a Mac, another option is to use the Preview app. The Preview app has a built-in screenshot tool that allows you to capture and edit screenshots.
To take a screenshot using Preview on a Mac, follow these steps:
1. Open the Preview app from your Applications folder.
2. Click on the “File” tab in the menu bar and select “Take Screenshot”.
3. A drop-down menu will appear, giving you the option to choose between capturing a portion of the screen, the entire screen, or a specific window.
4. Pick the option that suits your need and requirement.
5. If you selected “Window” or “Selection,” click on the window or drag the cursor over the area you want to capture.
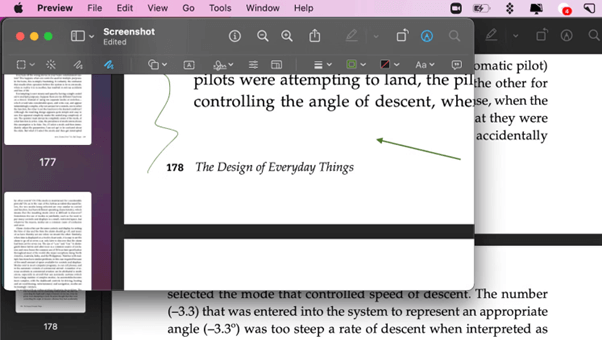
6. Your screenshot will be automatically opened in Preview as a new image.
7. From here, you can edit your screenshot as needed, such as cropping, resizing, or adding annotations.
8. Once you’re done editing, click on “File” in the menu bar and select “Save” to save your screenshot to your desired location.
And that’s it! Using Preview to take screenshots on a Mac is a convenient option for those who prefer to edit their screenshots before saving or sharing them.
Also read: Best File Manager For Mac To Replace Finder
Conclusion | How to Take a Screenshot on Mac Like a Pro
This wraps up our guide on how to screenshot on MacBook Air, Pro, and other models!
Taking screenshots on a Mac is easy and can be done using a variety of methods. Whether you prefer using keyboard shortcuts, the Screenshot app, or third-party tools, there are options available to suit your needs. By following the steps outlined in this article, you should now have a good understanding of how to take screenshots on your Mac using in-built tools.
However, for those who require more advanced features and editing options, third-party screenshot capturing and recording software is also a viable option. These programs offer a range of options and are suitable for professional users who require advanced modes of capturing tools and editing options for professional output.
You might want to read:
So, which method do you usually prefer to take screenshots on Mac? Feel free to share what you think in the comments box!
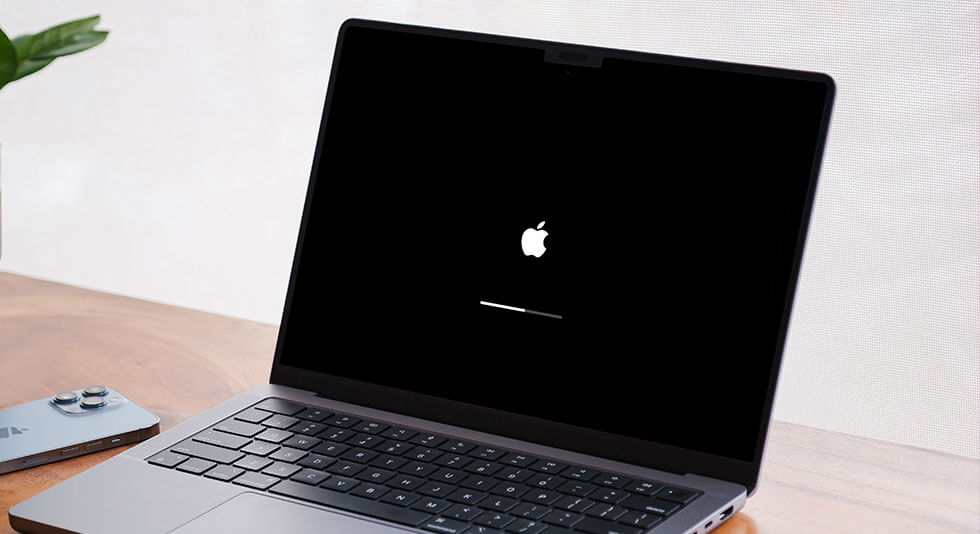 How To Fix Macbook Stuck on Loading Screen?
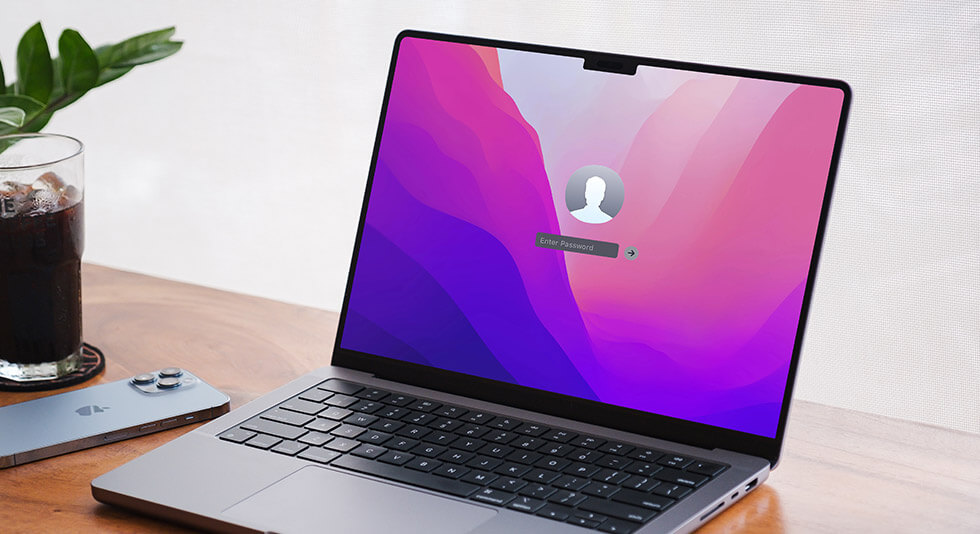 Best Ways to Lock Your Mac Screen
 Best Ways To Stop MacBook Screen Flickering